Hostinger Wizard
On this page, we explain step by step how to run CloudPanel on Hostinger.
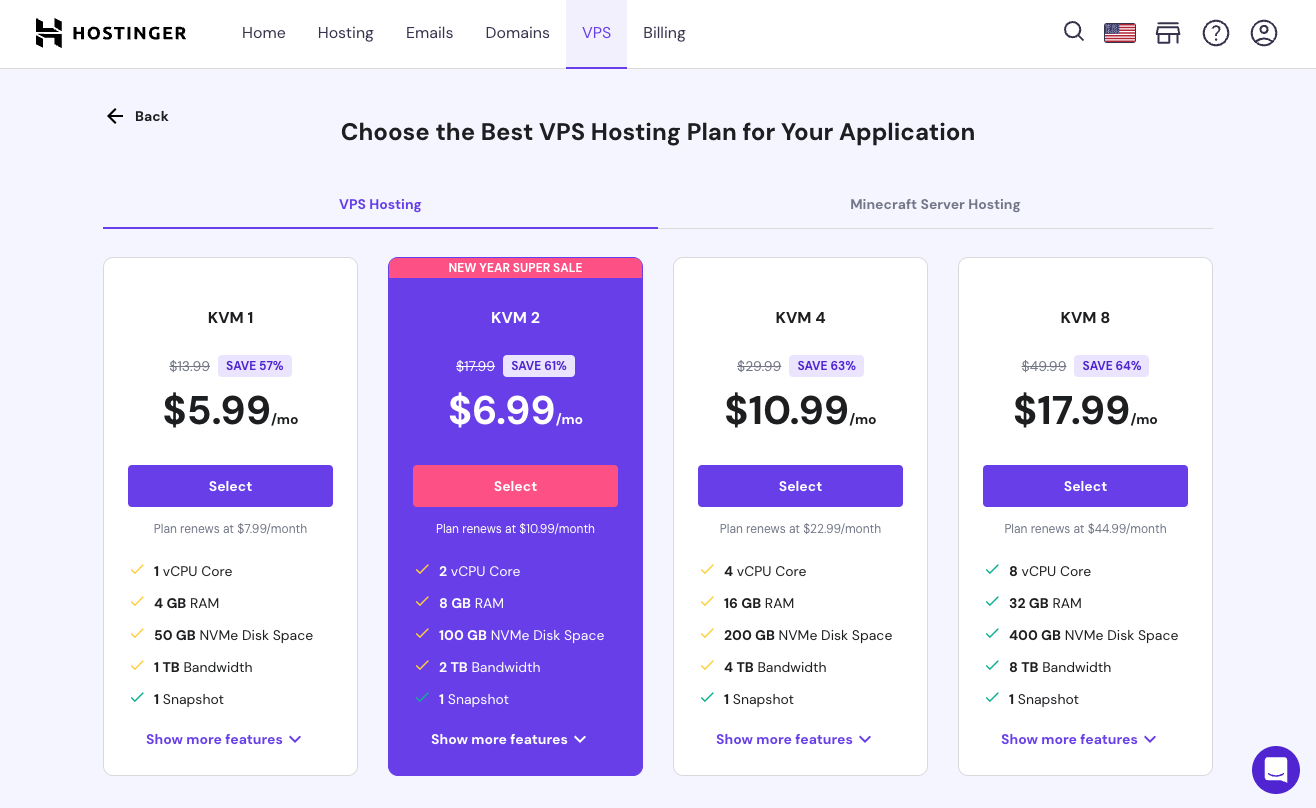
Choose a VPS Hosting Plan
Log in to the Hostinger Control Panel.
Go to VPS in the top menu and choose a plan.
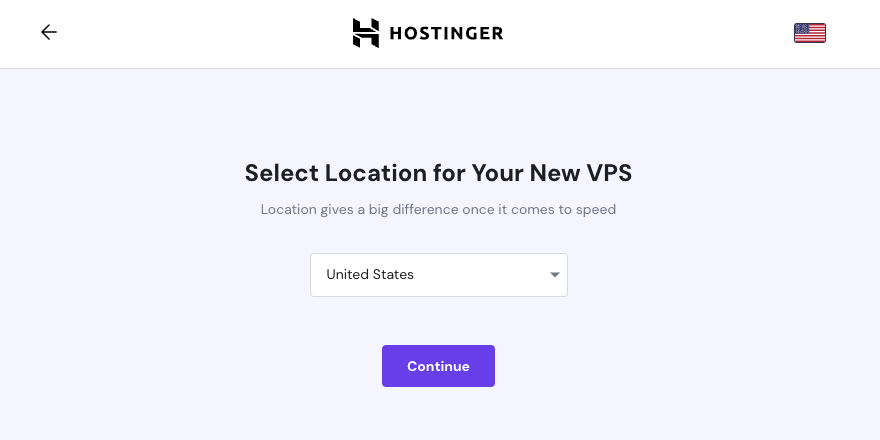
Select VPS Location
Select the location for your new VPS from the dropdown list.
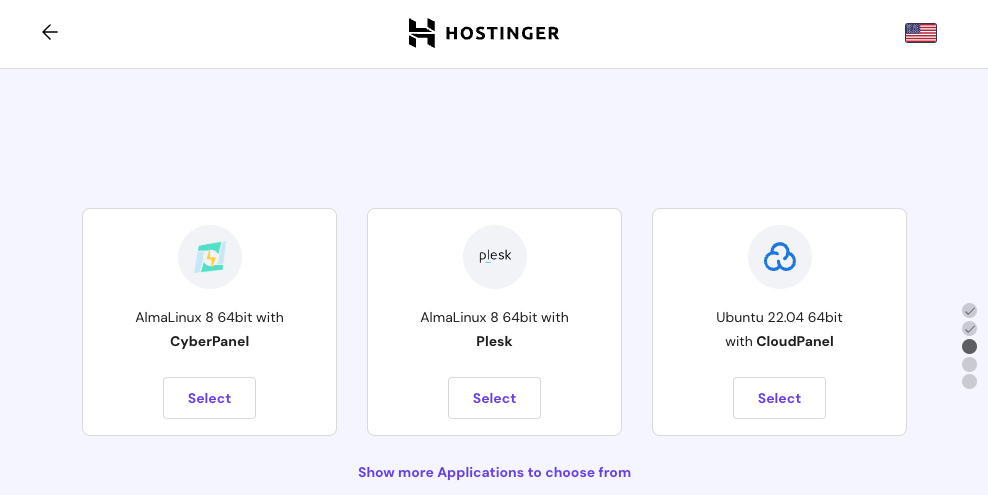
Choose Operating System
Click on OS with Control Panel and select CloudPanel from the list.
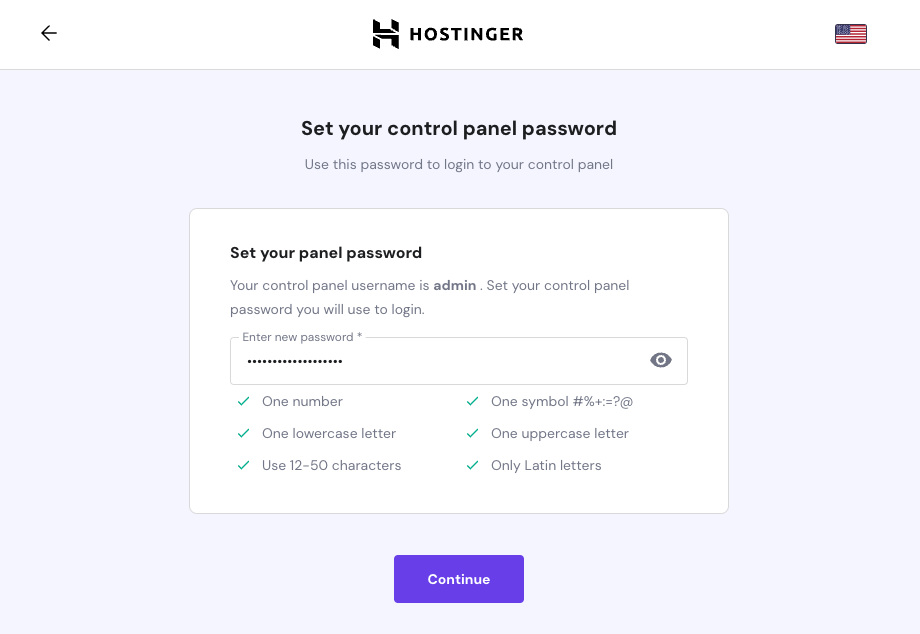
Setup Admin User Password
Enter a strong password for the admin user to login later into CloudPanel and click on Continue.
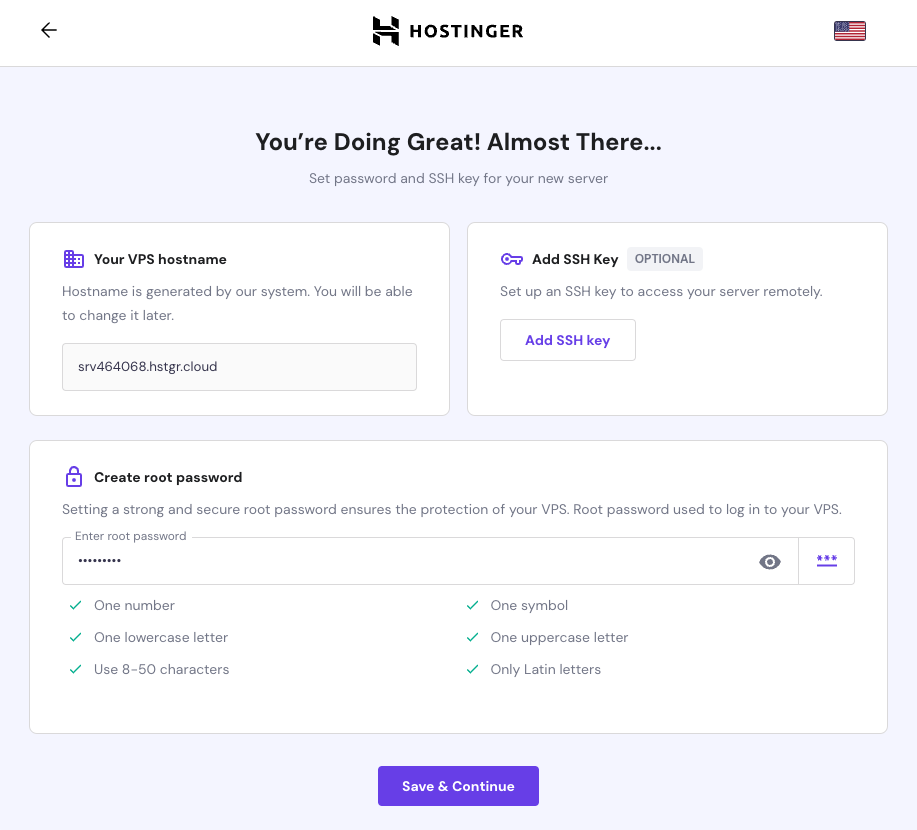
SSH Access Method
For accessing the VPS via SSH wit the root user, enter a password or add an SSH Key and click on Save & Continue.
Review VPS Information
Review the VPS information once again and click on Finish Setup. The VPS will be launched and is ready within 3-5 minutes.
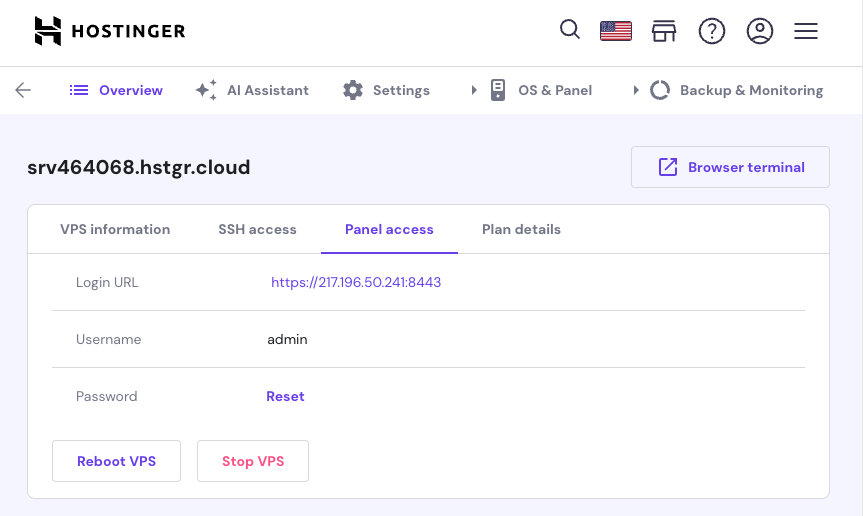
Access CloudPanel
Go to the VPS Dashboard and click on Panel access to get the Login Url.