Digital Ocean Marketplace
On this page, we explain step by step how to run CloudPanel on Digital Ocean.
Launching a Droplet
Login to your Digital Ocean account.
Click on the button Create CloudPanel Droplet.
- Ubuntu 24.04 LTS

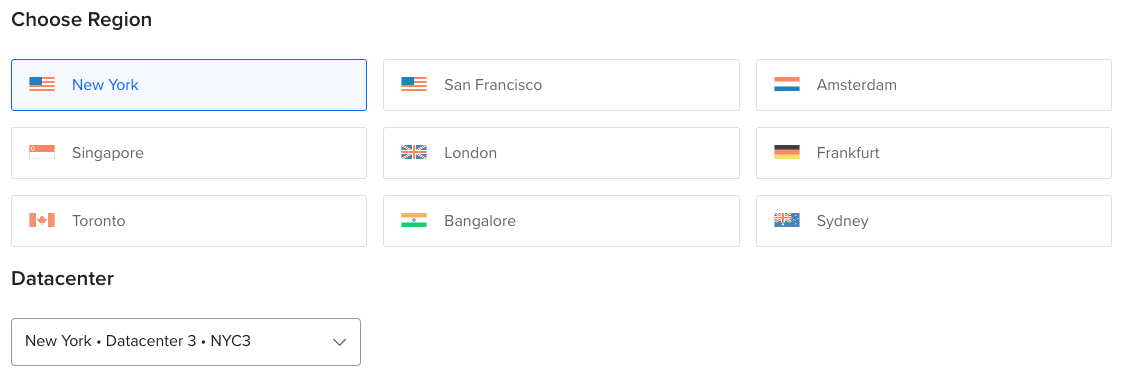
Choose Region
Choose the Region where you want to run your Droplet.
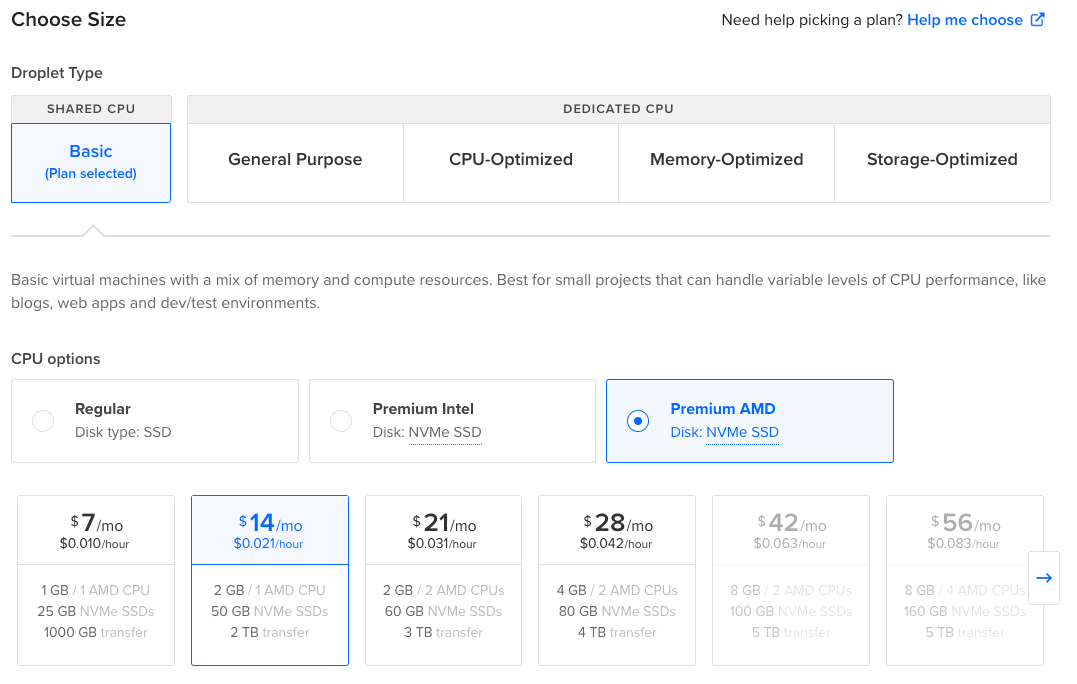
Droplet Size
Choose the size of your Droplet, e.g., Premium AMD with NVMe SSD.
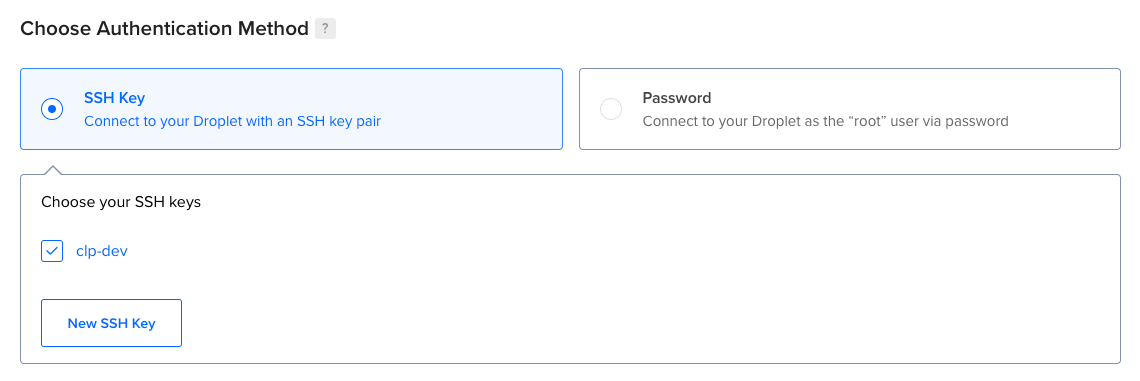
Authentication Method
Select your Authentication Method, SSH keys or Password.
How to create an SSH Key, is explained on the site: How-to Add SSH Keys to New or Existing Droplets
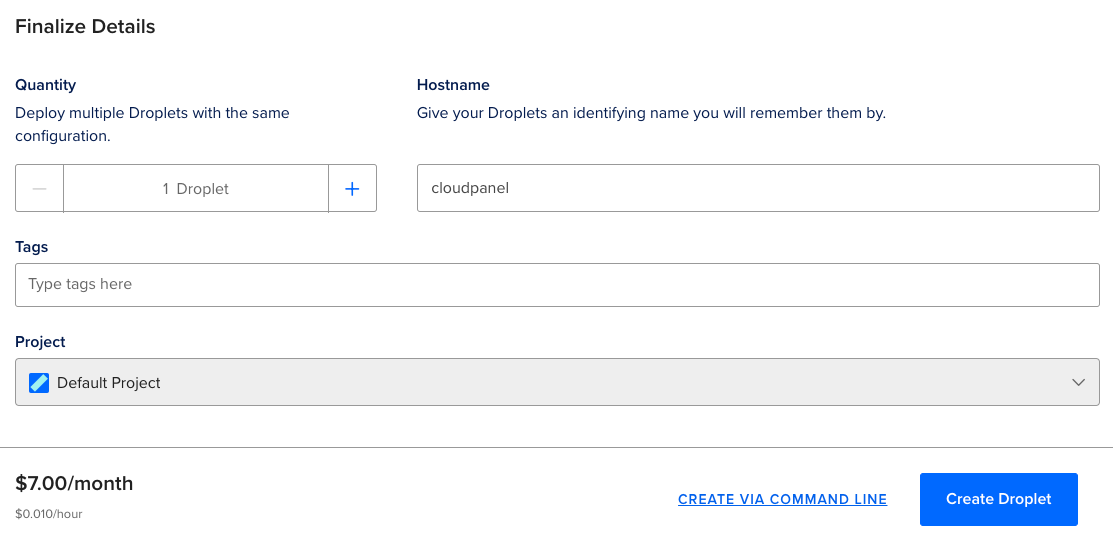
Finalize and Create
Enter a hostname, and click on the button Create Droplet to launch your Droplet.
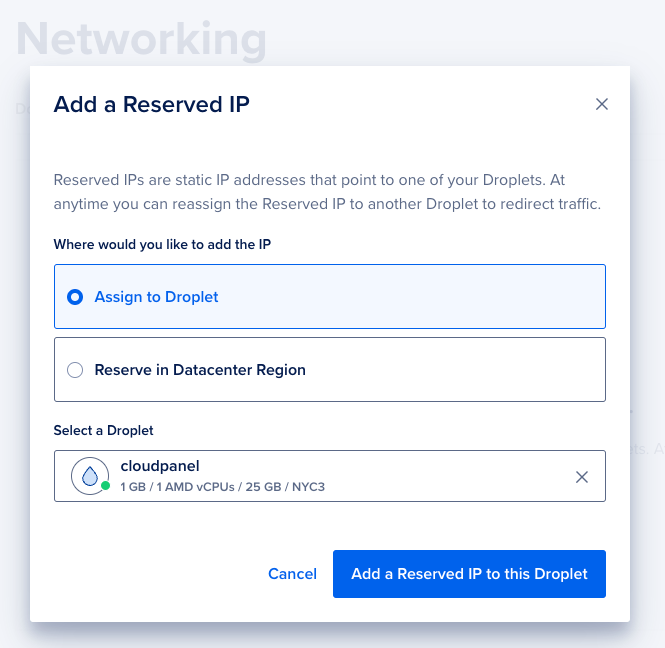
Assigning a Reserved IP
A Reserved IP (static ip) is highly recommended to have the same IP after changing the size of your Droplet.
To create a Reserved IP, do the following steps:
In the left navigation, click on Networking.
Select your Droplet and click on the button Assign Reserved IP.
Access CloudPanel
Security
For security reasons, access CloudPanel as fast as possible to create the admin user. There is a small time window where bots can create the user. It's highly recommended to open port 8443 only for your IP via firewall.
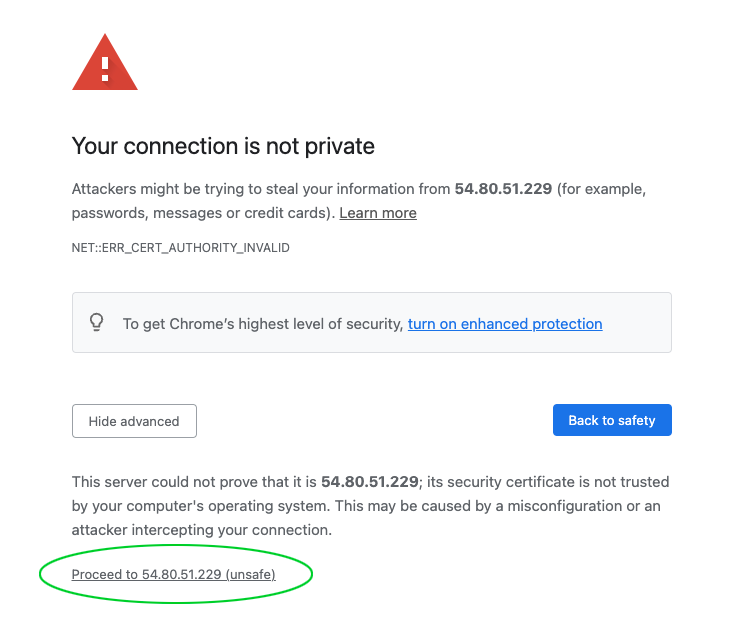
You can now access CloudPanel via Browser: https://yourIpAddress:8443
Ignore the self-signed certificate warning and click on Advanced and Proceed to continue to CloudPanel.