Strapi 4
On this site, you find a guide to install and configure Strapi 4 on CloudPanel.
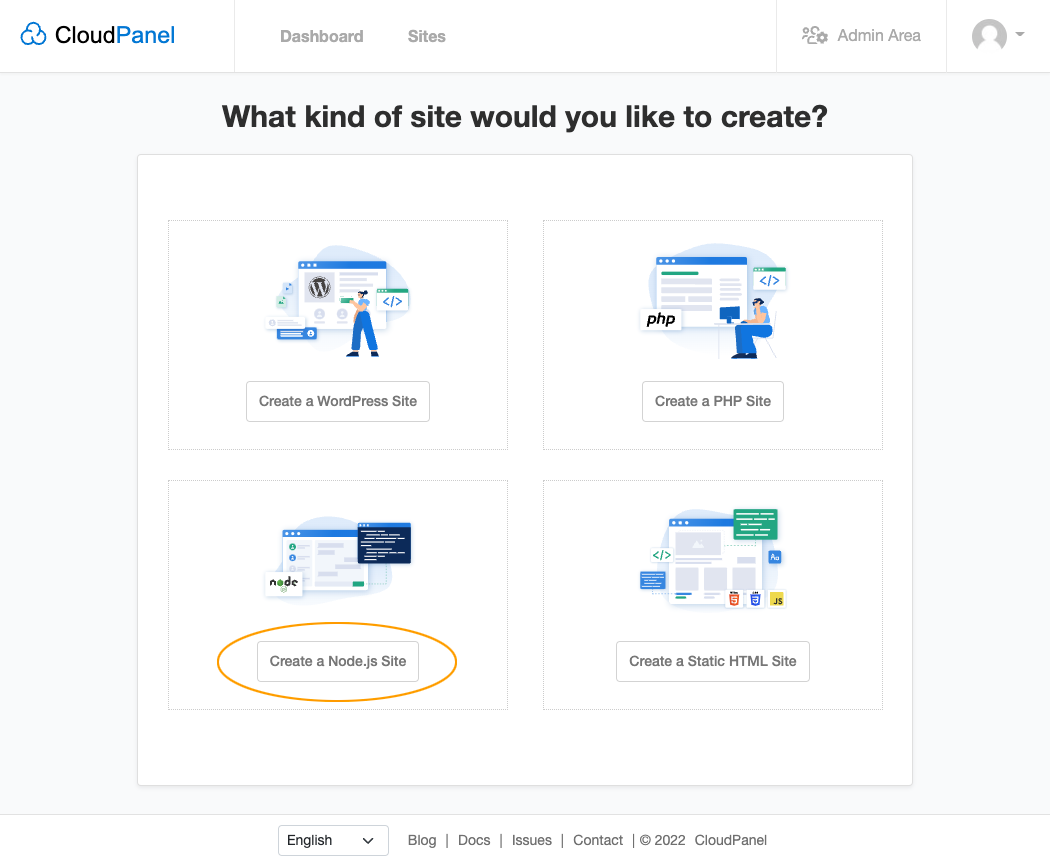
Creating a Node.js Site
Via CloudPanel
- Click on + Add Site and then click on Create a Node.js Site.
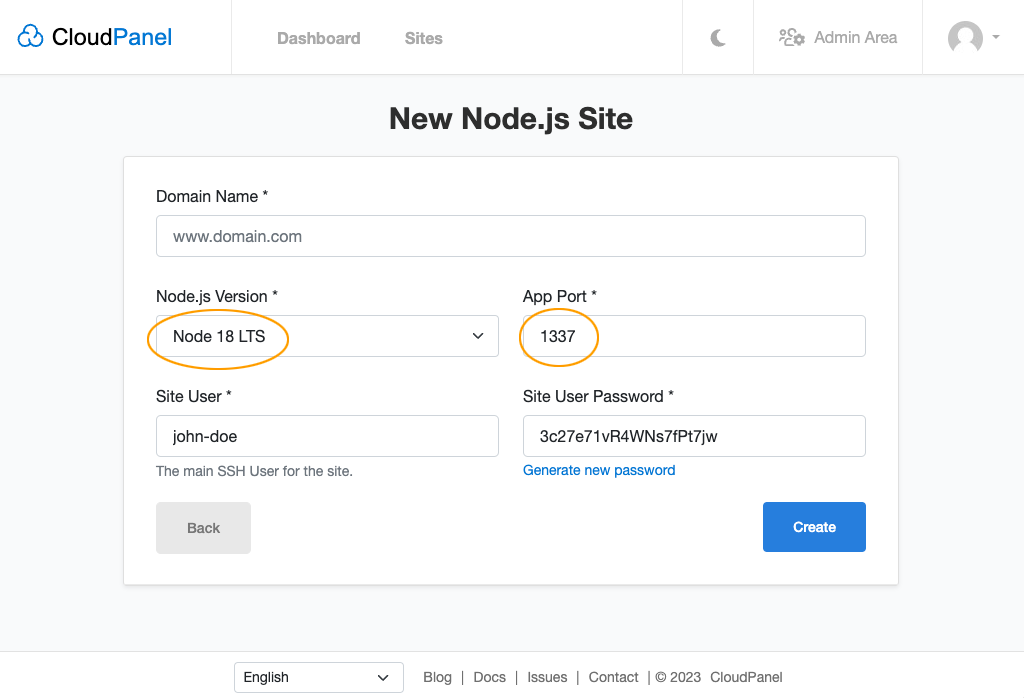
- Enter the Domain Name, Node.js Version, and the App Port, and click on Create.
Via CloudPanel CLI
You can create a Node.js Site with the following command as root user if you like the command line.
clpctl site:add:nodejs --domainName=www.domain.com --nodejsVersion=18 --appPort=1337 --siteUser='john-doe' --siteUserPassword='!secretPassword!'
Creating a Strapi project
- Log in via SSH with the Site User:
ssh john-doe@server-ip-address
- Go to htdocs and delete the directory which CloudPanel has created:
cd htdocs && rm -rf www.domain.com
- Create a Strapi Project:
npx create-strapi-app@latest www.domain.com
Building the Admin Panel
To build the Admin Panel, go to the root directory of your strapi installation
cd htdocs/www.domain.com/
and execute npm run build with NODE_ENV=production:
NODE_ENV=production npm run build
Running Strapi
To run Strapi, go to the root directory of your strapi installation
cd htdocs/www.domain.com/
and execute npm start with NODE_ENV=production:
NODE_ENV=production npm start
The output will look like this:
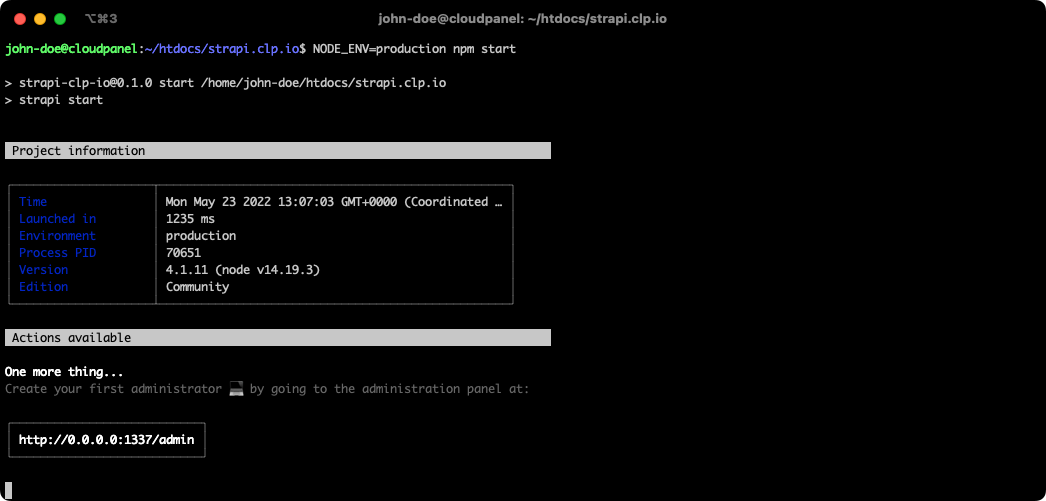
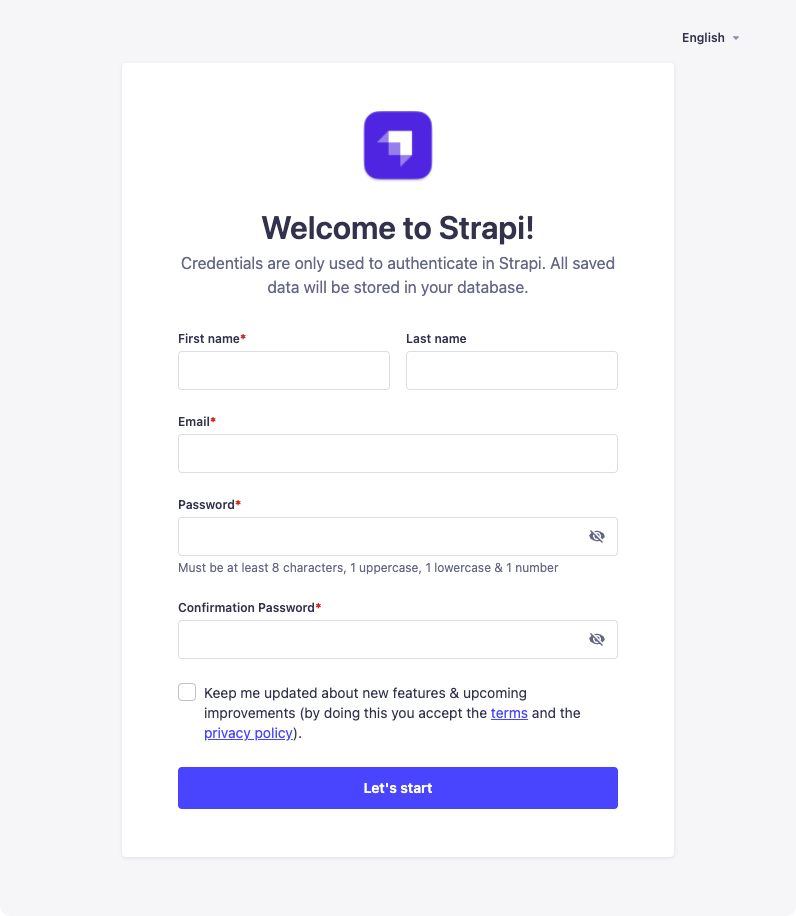
To create a user, you can now open your Strapi Installation in the browser https://www.domain.com/admin.
Production Deployment
For running Strapi in production, it's essential to have an process manager like pm2 who takes care of the node processes.
Follow the Node.js Deployment for a step-by-step guide.