Google Compute Engine Installer
On this page, we explain step by step how to install CloudPanel on Google Compute Engine.
Launching an Instance
Log in to the Google Cloud Console.
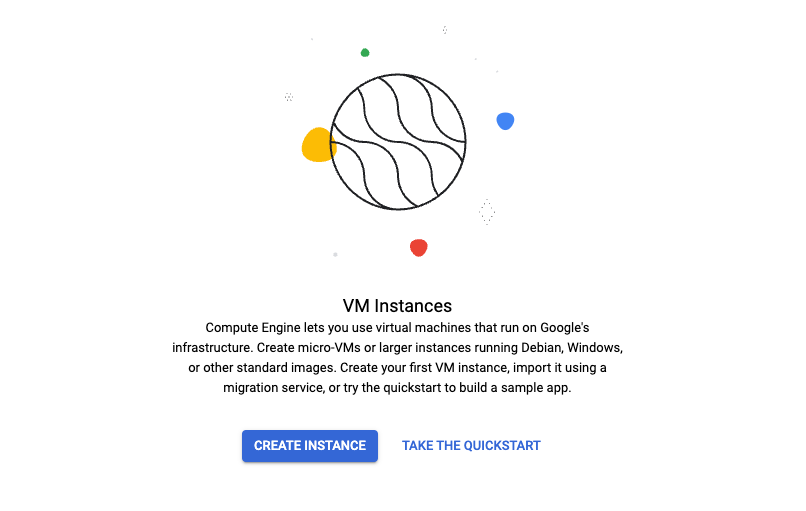
In the left navigation, click on Compute Engine --> VM instances and click on the button Create Instance.
Name and Region
Enter the Name of the instance and select a Region to deploy.

Machine Configuration
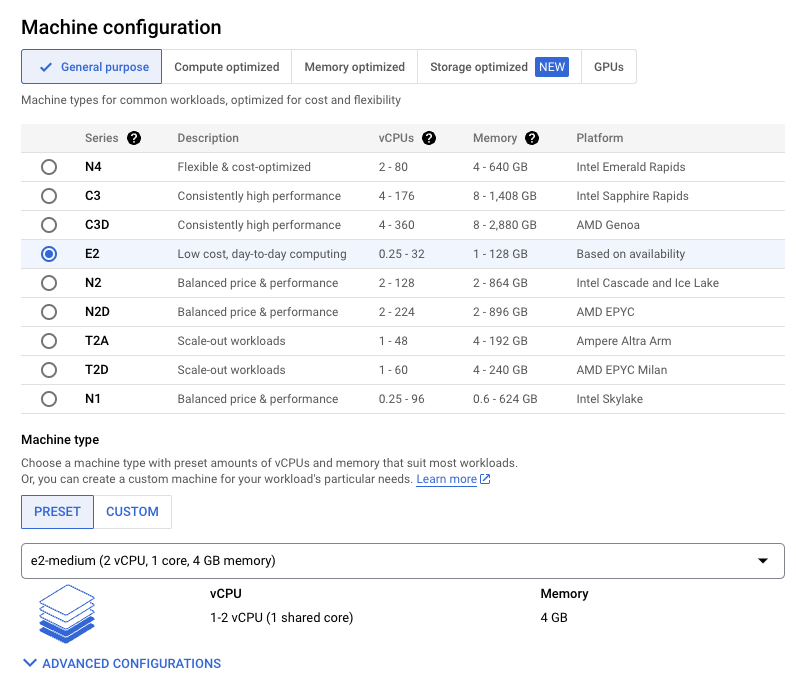
Select the Machine Family, Series and Machine Type.
Boot Disk
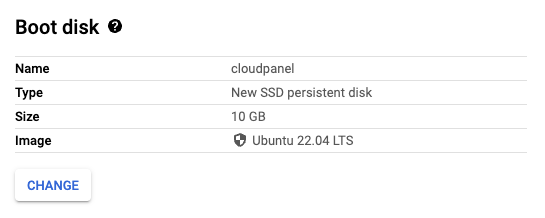
Select Ubuntu 24.04 or 22.04 or Debian 12 or 11 as Boot Disk Image.
Minimum Size
Configure as minimum 10 GB Boot Disk Image and select SSD persistent disk as Boot Disk Type.
Firewall
Allow HTTP and HTTPS Traffic.

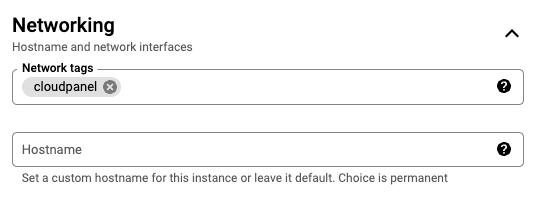
Networking
- Add cloudpanel in Network tags.
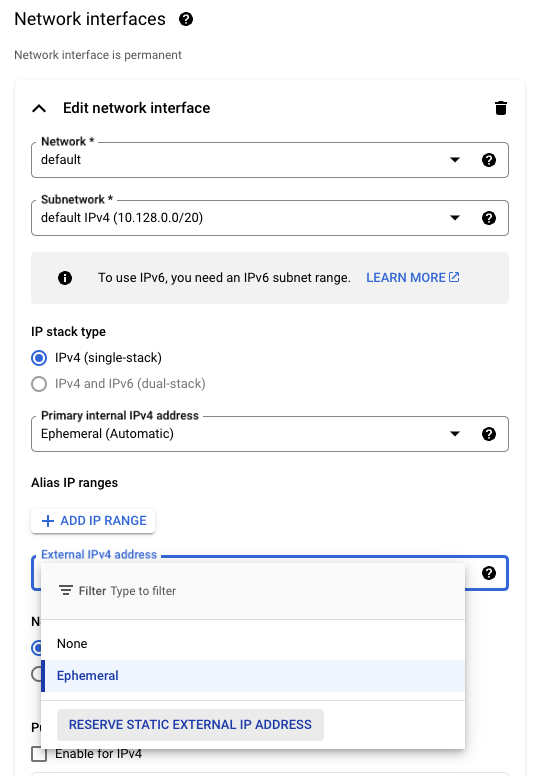
- Click on External IPv4 address and then on RESERVE STATIC EXTERNAL IP ADDRESS.
Enter a Name for the Static IP Address and click on Reserve.
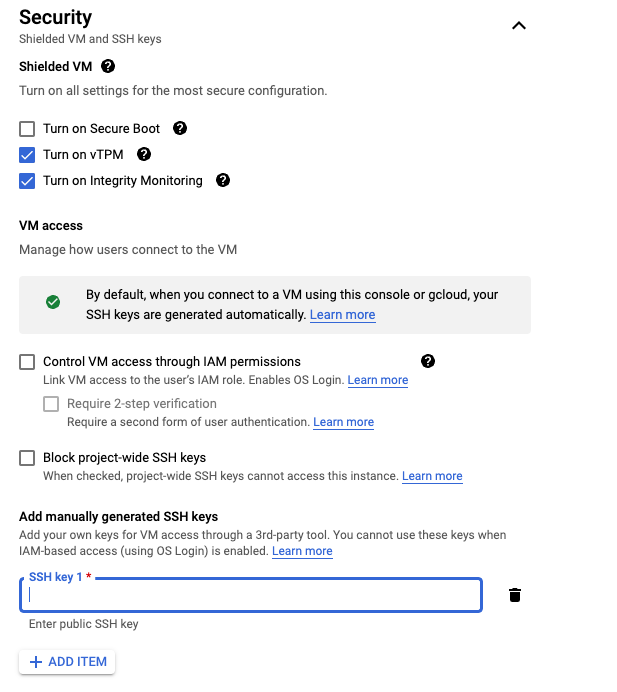
Security
Click on the button Add Item and enter your Public SSH Key.
Create
Click on the button Create to launch the VM Instance.
Firewall Rules
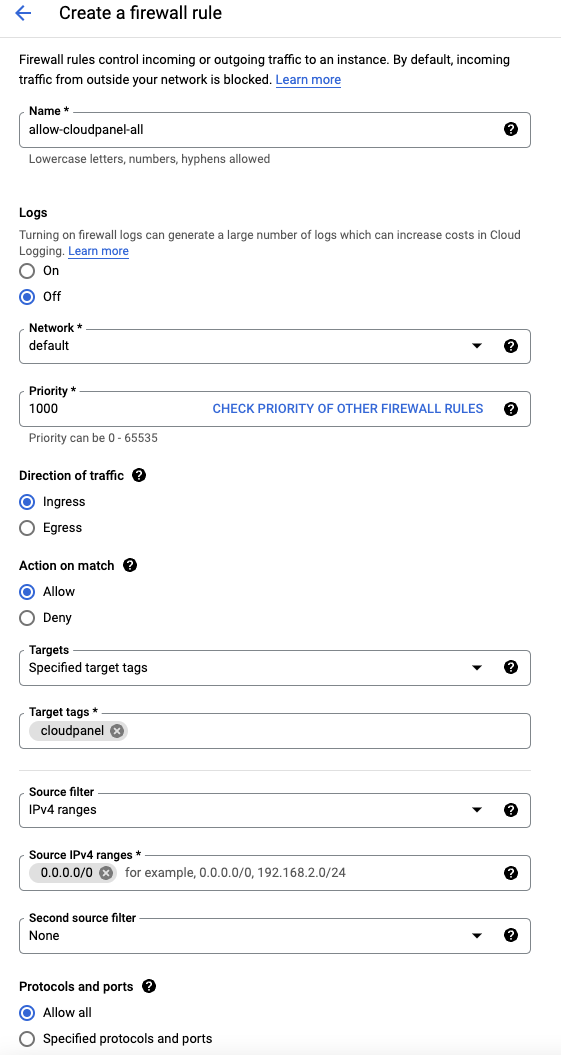
To access CloudPanel later, we need to create a Firewall Rule.
Click on CREATE FIREWALL RULE and create the following rule:
Name: allow-cloudpanel-all
Targets: Specified target tags
Target tags: cloudpanel
Source filter: IP ranges
Source IP ranges: 0.0.0.0/0
Protocols and ports: Allow all
Security
This firewall rule opens ALL ports. CloudPanel has an integrated Firewall which takes care of the ports.
If you want to use the Firewall Rules from Google, you need to open the TCP ports: 22, 80, 443, and 8443 (CloudPanel).
Also, open port 443 for UDP to allow HTTP3 connections.
Don't forget to remove all rules in the admin area of CloudPanel to disable the UFW Firewall.
Install CloudPanel
After launching the Instance, log in with SSH and run the installer script.
- Ubuntu 24.04 LTS
- Ubuntu 22.04 LTS
- Debian 12 LTS
- Debian 11 LTS
- Login via SSH to the Instance.
The UserName is either the UserName you specified when you created the SSH key or the one defined in your Google Profile.
Check the following site https://cloud.google.com/compute/docs/connect/ssh-using-third-party-tools for a step-by-step guide.
ssh -i path_to_your_private_key username@yourIpAddress
- Switch to the root user:
sudo su root
- Update the system and install the required packages.
apt update && apt -y upgrade && apt -y install curl wget sudo
- Run the installer with your preferred Database Engine.
- MySQL 8.0
- MariaDB 10.11
curl -sS https://installer.cloudpanel.io/ce/v2/install.sh -o install.sh; \
echo "2aefee646f988877a31198e0d84ed30e2ef7a454857b606608a1f0b8eb6ec6b6 install.sh" | \
sha256sum -c && sudo CLOUD=gce bash install.sh
curl -sS https://installer.cloudpanel.io/ce/v2/install.sh -o install.sh; \
echo "2aefee646f988877a31198e0d84ed30e2ef7a454857b606608a1f0b8eb6ec6b6 install.sh" | \
sha256sum -c && sudo CLOUD=gce DB_ENGINE=MARIADB_10.11 bash install.sh
- Login via SSH to the Instance.
The UserName is either the UserName you specified when you created the SSH key or the one defined in your Google Profile.
Check the following site https://cloud.google.com/compute/docs/connect/ssh-using-third-party-tools for a step-by-step guide.
ssh -i path_to_your_private_key username@yourIpAddress
- Switch to the root user:
sudo su root
- Update the system and install the required packages.
apt update && apt -y upgrade && apt -y install curl wget sudo
- Run the installer with your preferred Database Engine.
- MySQL 8.0
- MariaDB 10.11
- MariaDB 10.6
curl -sS https://installer.cloudpanel.io/ce/v2/install.sh -o install.sh; \
echo "2aefee646f988877a31198e0d84ed30e2ef7a454857b606608a1f0b8eb6ec6b6 install.sh" | \
sha256sum -c && sudo CLOUD=gce bash install.sh
curl -sS https://installer.cloudpanel.io/ce/v2/install.sh -o install.sh; \
echo "2aefee646f988877a31198e0d84ed30e2ef7a454857b606608a1f0b8eb6ec6b6 install.sh" | \
sha256sum -c && sudo CLOUD=gce DB_ENGINE=MARIADB_10.11 bash install.sh
curl -sS https://installer.cloudpanel.io/ce/v2/install.sh -o install.sh; \
echo "2aefee646f988877a31198e0d84ed30e2ef7a454857b606608a1f0b8eb6ec6b6 install.sh" | \
sha256sum -c && sudo CLOUD=gce DB_ENGINE=MARIADB_10.6 bash install.sh
- Login via SSH to the Instance.
The UserName is either the UserName you specified when you created the SSH key or the one defined in your Google Profile.
Check the following site https://cloud.google.com/compute/docs/connect/ssh-using-third-party-tools for a step-by-step guide.
ssh -i path_to_your_private_key username@yourIpAddress
- Switch to the root user:
sudo su root
- Update the system and install the required packages.
apt update && apt -y upgrade && apt -y install curl wget sudo
- Run the installer with your preferred Database Engine.
- MySQL 8.0
- MariaDB 10.11
curl -sS https://installer.cloudpanel.io/ce/v2/install.sh -o install.sh; \
echo "2aefee646f988877a31198e0d84ed30e2ef7a454857b606608a1f0b8eb6ec6b6 install.sh" | \
sha256sum -c && sudo CLOUD=gce bash install.sh
curl -sS https://installer.cloudpanel.io/ce/v2/install.sh -o install.sh; \
echo "2aefee646f988877a31198e0d84ed30e2ef7a454857b606608a1f0b8eb6ec6b6 install.sh" | \
sha256sum -c && sudo CLOUD=gce DB_ENGINE=MARIADB_10.11 bash install.sh
- Login via SSH to the Instance.
The UserName is either the UserName you specified when you created the SSH key or the one defined in your Google Profile.
Check the following site https://cloud.google.com/compute/docs/connect/ssh-using-third-party-tools for a step-by-step guide.
ssh -i path_to_your_private_key username@yourIpAddress
- Switch to the root user:
sudo su root
- Update the system and install the required packages.
apt update && apt -y upgrade && apt -y install curl wget sudo
- Run the installer with your preferred Database Engine.
- MySQL 8.0
- MySQL 5.7
- MariaDB 10.11
- MariaDB 10.6
curl -sS https://installer.cloudpanel.io/ce/v2/install.sh -o install.sh; \
echo "2aefee646f988877a31198e0d84ed30e2ef7a454857b606608a1f0b8eb6ec6b6 install.sh" | \
sha256sum -c && sudo CLOUD=gce bash install.sh
curl -sS https://installer.cloudpanel.io/ce/v2/install.sh -o install.sh; \
echo "2aefee646f988877a31198e0d84ed30e2ef7a454857b606608a1f0b8eb6ec6b6 install.sh" | \
sha256sum -c && sudo CLOUD=gce DB_ENGINE=MYSQL_5.7 bash install.sh
curl -sS https://installer.cloudpanel.io/ce/v2/install.sh -o install.sh; \
echo "2aefee646f988877a31198e0d84ed30e2ef7a454857b606608a1f0b8eb6ec6b6 install.sh" | \
sha256sum -c && sudo CLOUD=gce DB_ENGINE=MARIADB_10.11 bash install.sh
curl -sS https://installer.cloudpanel.io/ce/v2/install.sh -o install.sh; \
echo "2aefee646f988877a31198e0d84ed30e2ef7a454857b606608a1f0b8eb6ec6b6 install.sh" | \
sha256sum -c && sudo CLOUD=gce DB_ENGINE=MARIADB_10.6 bash install.sh
Access CloudPanel
Security
For security reasons, access CloudPanel as fast as possible to create the admin user. There is a small time window where bots can create the user. If possible, open port 8443 only for your IP via firewall.
You can now access CloudPanel via Browser: https://yourIpAddress:8443
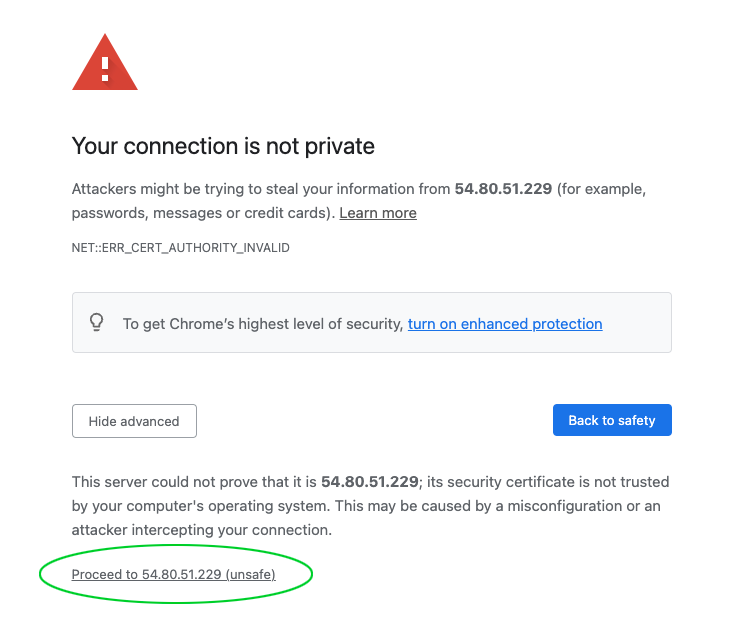
Ignore the self-signed certificate warning and click on Advanced and Proceed to continue to CloudPanel.
