Hetzner Installer
On this page, we explain step by step how to install CloudPanel on Hetzner Cloud.
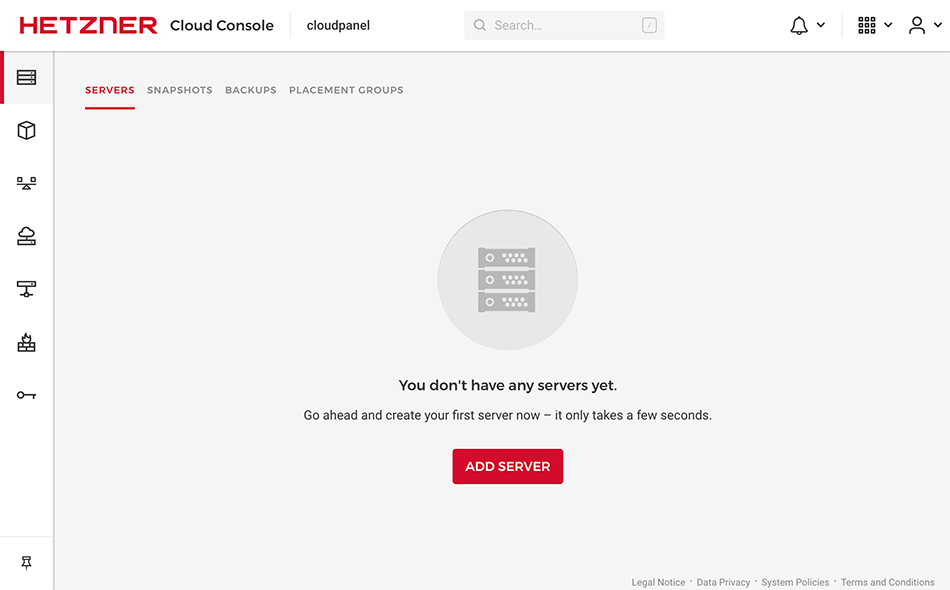
Create a Server
Login to your Hetzner Cloud Console account.
Go to a project and click on the button ADD SERVER.
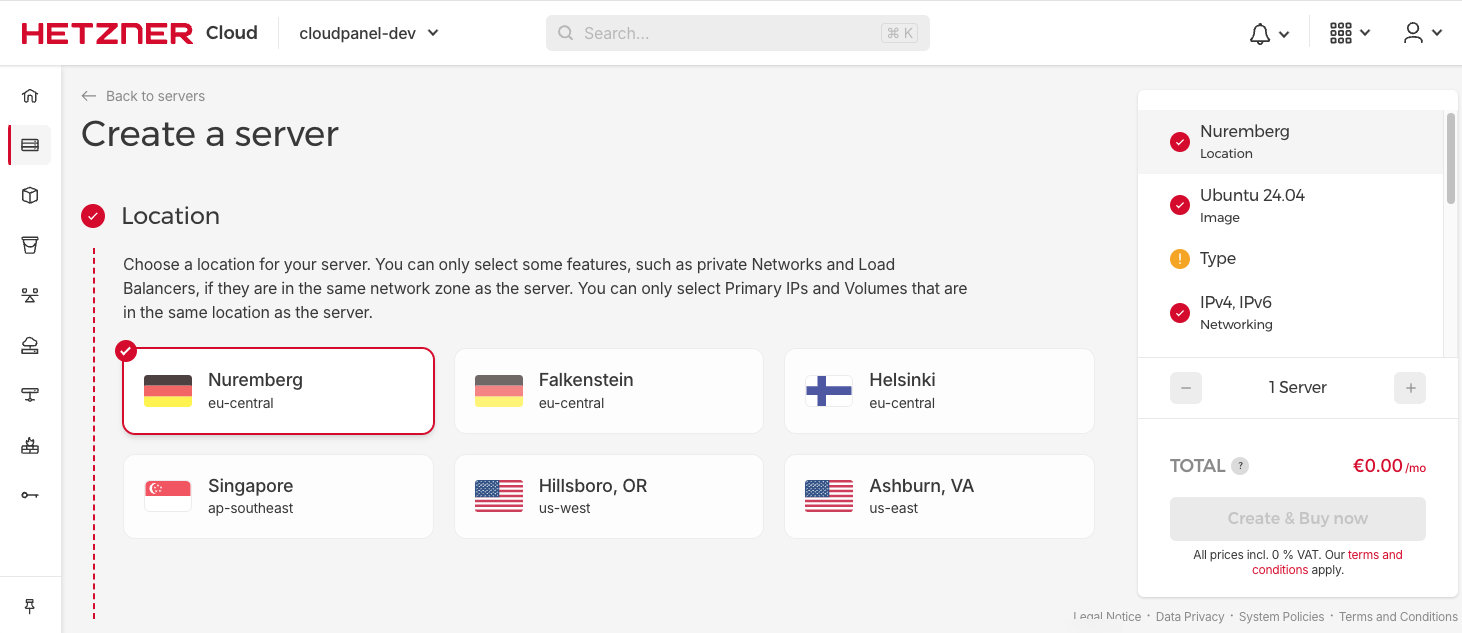
Server Location
Choose the Server Location where you want to run your Server.
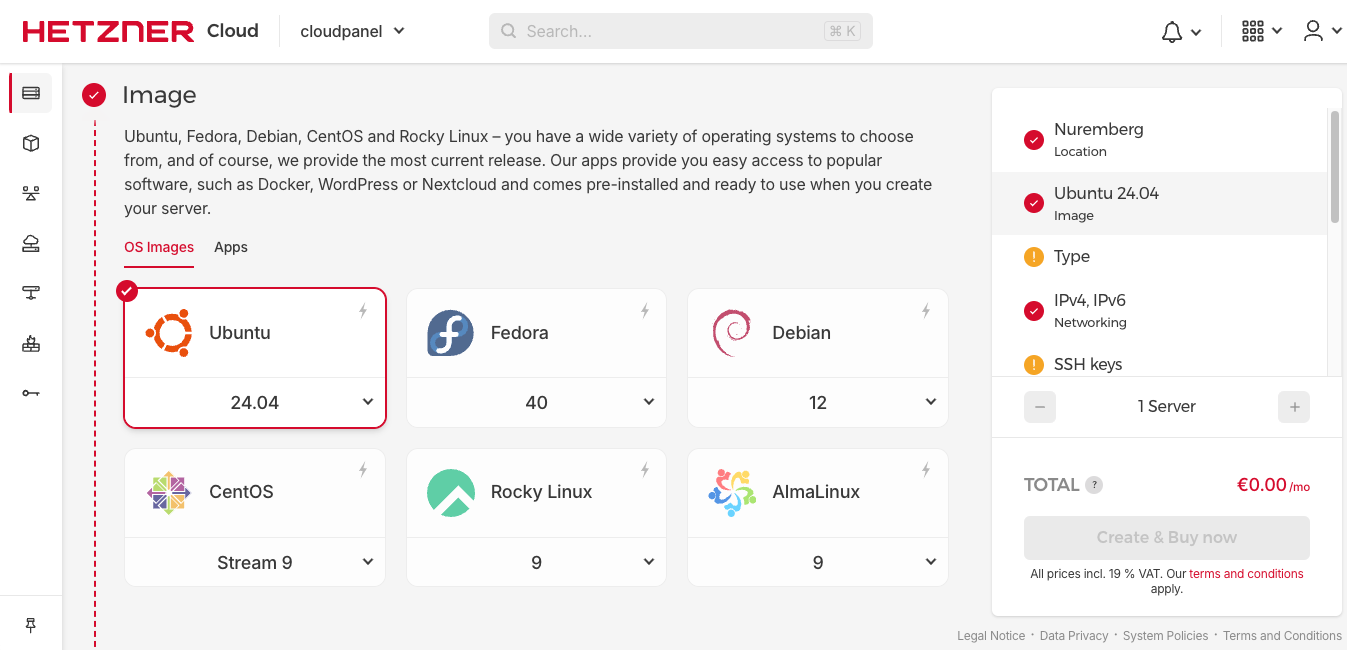
OS Image
Select Ubuntu 24.04 or 22.04 or Debian 12 or 11 as OS Image.
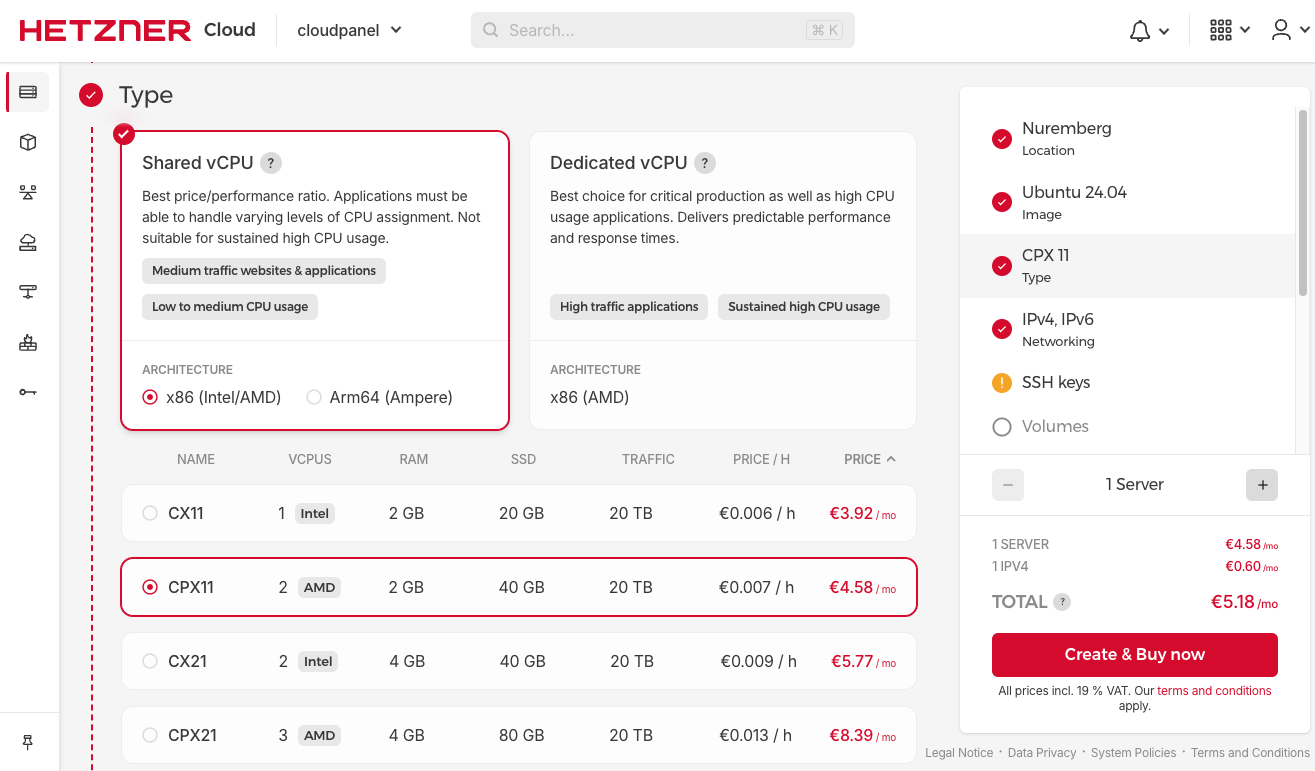
Server Type
High Performance
In our benchmarks, the CPX (AMD EPYC 2nd Gen processors) servers were the fastest for web applications.
Select the Server Type you want to deploy. We recommend at least 1 vCPU with 2 GB of Memory.
Launch Server
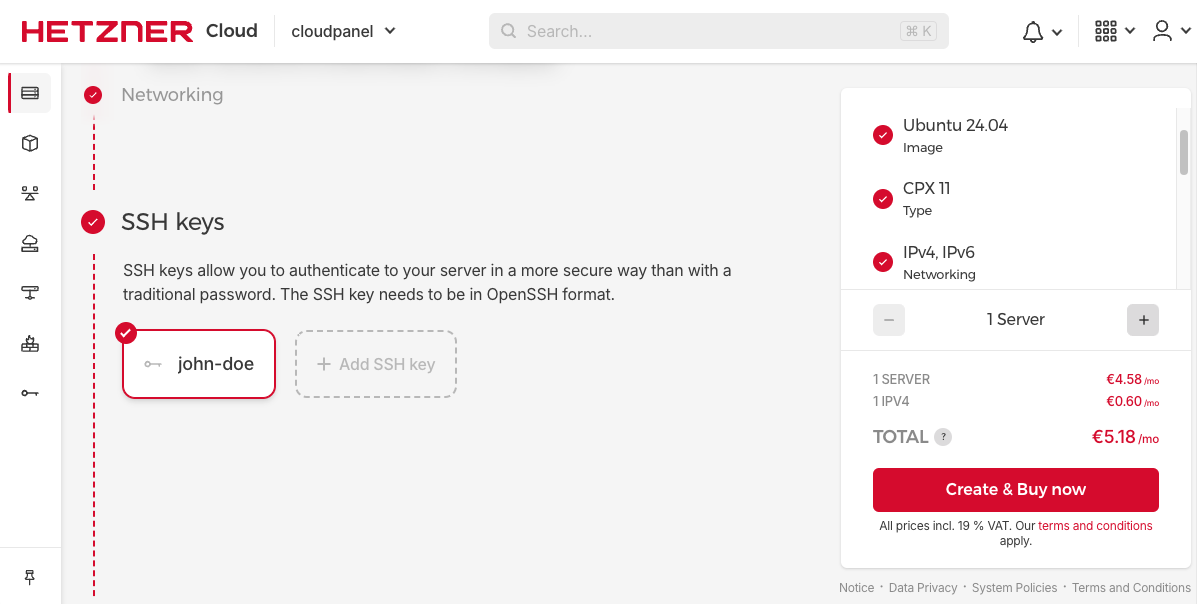
Select an SSH Key, which will be used for SSH authentication.
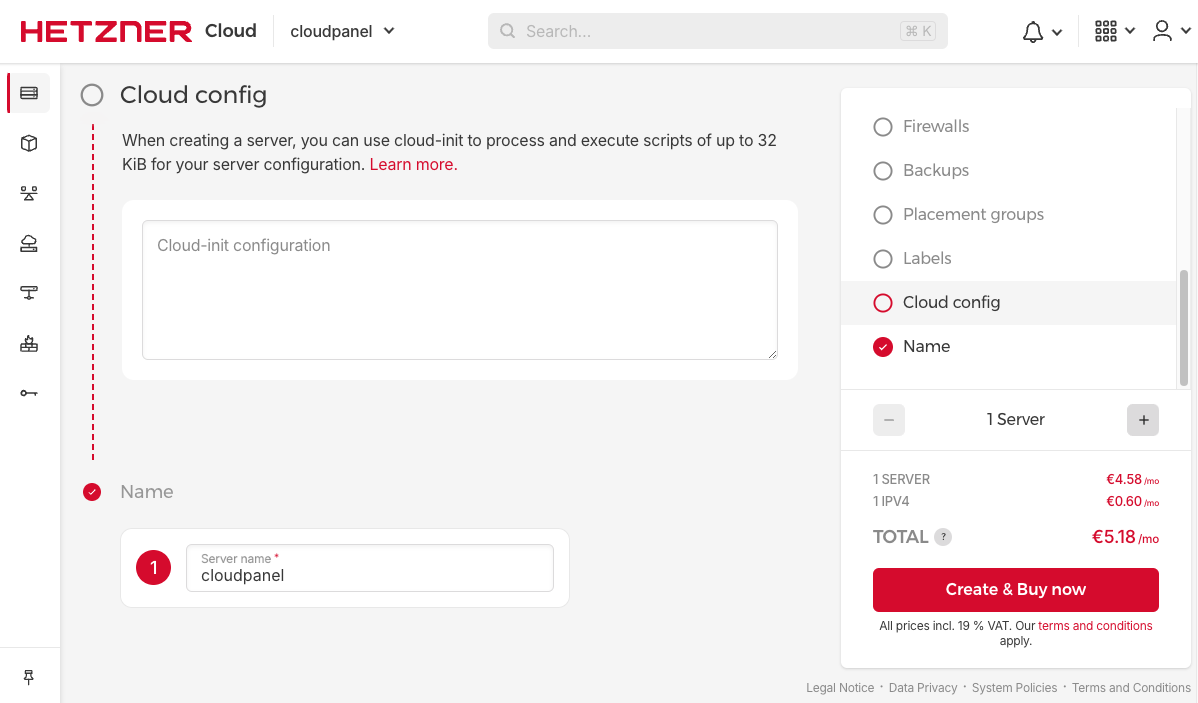
Enter the Server Name and click on the button CREATE & BUY NOW to launch the server.
Install CloudPanel
After launching the Server, log in with SSH and run the installer script.
- Ubuntu 24.04 LTS
- Ubuntu 22.04 LTS
- Debian 13 LTS
- Debian 12 LTS
- Debian 11 LTS
- Login via SSH to the Server.
ssh -i path_to_your_private_key root@serverIpAddress
- Update the system and install the required packages.
apt update && apt -y upgrade && apt -y install curl wget sudo
- Run the installer with your preferred Database Engine.
- MySQL 8.4
- MySQL 8.0
- MariaDB 11.4
- MariaDB 10.11
curl -sS https://installer.cloudpanel.io/ce/v2/install.sh -o install.sh; \
echo "6eac061df80f08b75224fcd7fce2f115e201696d8a6122e31abf7259a813b462 install.sh" | \
sha256sum -c && sudo CLOUD=hetzner DB_ENGINE=MYSQL_8.4 bash install.sh
curl -sS https://installer.cloudpanel.io/ce/v2/install.sh -o install.sh; \
echo "6eac061df80f08b75224fcd7fce2f115e201696d8a6122e31abf7259a813b462 install.sh" | \
sha256sum -c && sudo CLOUD=hetzner DB_ENGINE=MYSQL_8.0 bash install.sh
curl -sS https://installer.cloudpanel.io/ce/v2/install.sh -o install.sh; \
echo "6eac061df80f08b75224fcd7fce2f115e201696d8a6122e31abf7259a813b462 install.sh" | \
sha256sum -c && sudo CLOUD=hetzner DB_ENGINE=MARIADB_11.4 bash install.sh
curl -sS https://installer.cloudpanel.io/ce/v2/install.sh -o install.sh; \
echo "6eac061df80f08b75224fcd7fce2f115e201696d8a6122e31abf7259a813b462 install.sh" | \
sha256sum -c && sudo CLOUD=hetzner DB_ENGINE=MARIADB_10.11 bash install.sh
- Login via SSH to the Server.
ssh -i path_to_your_private_key root@serverIpAddress
- Update the system and install the required packages.
apt update && apt -y upgrade && apt -y install curl wget sudo
- Run the installer with your preferred Database Engine.
- MySQL 8.0
- MariaDB 11.4
- MariaDB 10.11
- MariaDB 10.6
curl -sS https://installer.cloudpanel.io/ce/v2/install.sh -o install.sh; \
echo "6eac061df80f08b75224fcd7fce2f115e201696d8a6122e31abf7259a813b462 install.sh" | \
sha256sum -c && sudo CLOUD=hetzner DB_ENGINE=MYSQL_8.0 bash install.sh
curl -sS https://installer.cloudpanel.io/ce/v2/install.sh -o install.sh; \
echo "6eac061df80f08b75224fcd7fce2f115e201696d8a6122e31abf7259a813b462 install.sh" | \
sha256sum -c && sudo CLOUD=hetzner DB_ENGINE=MARIADB_11.4 bash install.sh
curl -sS https://installer.cloudpanel.io/ce/v2/install.sh -o install.sh; \
echo "6eac061df80f08b75224fcd7fce2f115e201696d8a6122e31abf7259a813b462 install.sh" | \
sha256sum -c && sudo CLOUD=hetzner DB_ENGINE=MARIADB_10.11 bash install.sh
curl -sS https://installer.cloudpanel.io/ce/v2/install.sh -o install.sh; \
echo "6eac061df80f08b75224fcd7fce2f115e201696d8a6122e31abf7259a813b462 install.sh" | \
sha256sum -c && sudo CLOUD=hetzner DB_ENGINE=MARIADB_10.6 bash install.sh
- Login via SSH to the Server.
ssh -i path_to_your_private_key root@serverIpAddress
- Update the system and install the required packages.
apt update && apt -y upgrade && apt -y install curl wget sudo
- Run the installer with your preferred Database Engine.
- MySQL 8.4
- MySQL 8.0
- MariaDB 11.8
curl -sS https://installer.cloudpanel.io/ce/v2/install.sh -o install.sh; \
echo "6eac061df80f08b75224fcd7fce2f115e201696d8a6122e31abf7259a813b462 install.sh" | \
sha256sum -c && sudo CLOUD=hetzner DB_ENGINE=MYSQL_8.4 bash install.sh
curl -sS https://installer.cloudpanel.io/ce/v2/install.sh -o install.sh; \
echo "6eac061df80f08b75224fcd7fce2f115e201696d8a6122e31abf7259a813b462 install.sh" | \
sha256sum -c && sudo CLOUD=hetzner DB_ENGINE=MYSQL_8.0 bash install.sh
curl -sS https://installer.cloudpanel.io/ce/v2/install.sh -o install.sh; \
echo "6eac061df80f08b75224fcd7fce2f115e201696d8a6122e31abf7259a813b462 install.sh" | \
sha256sum -c && sudo CLOUD=hetzner DB_ENGINE=MARIADB_11.8 bash install.sh
- Login via SSH to the Server.
ssh -i path_to_your_private_key root@serverIpAddress
- Update the system and install the required packages.
apt update && apt -y upgrade && apt -y install curl wget sudo
- Run the installer with your preferred Database Engine.
- MySQL 8.4
- MySQL 8.0
- MariaDB 11.4
- MariaDB 10.11
curl -sS https://installer.cloudpanel.io/ce/v2/install.sh -o install.sh; \
echo "6eac061df80f08b75224fcd7fce2f115e201696d8a6122e31abf7259a813b462 install.sh" | \
sha256sum -c && sudo CLOUD=hetzner DB_ENGINE=MYSQL_8.4 bash install.sh
curl -sS https://installer.cloudpanel.io/ce/v2/install.sh -o install.sh; \
echo "6eac061df80f08b75224fcd7fce2f115e201696d8a6122e31abf7259a813b462 install.sh" | \
sha256sum -c && sudo CLOUD=hetzner DB_ENGINE=MYSQL_8.0 bash install.sh
curl -sS https://installer.cloudpanel.io/ce/v2/install.sh -o install.sh; \
echo "6eac061df80f08b75224fcd7fce2f115e201696d8a6122e31abf7259a813b462 install.sh" | \
sha256sum -c && sudo CLOUD=hetzner DB_ENGINE=MARIADB_11.4 bash install.sh
curl -sS https://installer.cloudpanel.io/ce/v2/install.sh -o install.sh; \
echo "6eac061df80f08b75224fcd7fce2f115e201696d8a6122e31abf7259a813b462 install.sh" | \
sha256sum -c && sudo CLOUD=hetzner DB_ENGINE=MARIADB_10.11 bash install.sh
- Login via SSH to the Server.
ssh -i path_to_your_private_key root@serverIpAddress
- Update the system and install the required packages.
apt update && apt -y upgrade && apt -y install curl wget sudo
- Run the installer with your preferred Database Engine.
- MySQL 8.0
- MySQL 5.7
- MariaDB 11.4
- MariaDB 10.11
- MariaDB 10.6
curl -sS https://installer.cloudpanel.io/ce/v2/install.sh -o install.sh; \
echo "6eac061df80f08b75224fcd7fce2f115e201696d8a6122e31abf7259a813b462 install.sh" | \
sha256sum -c && sudo CLOUD=hetzner DB_ENGINE=MYSQL_8.0 bash install.sh
curl -sS https://installer.cloudpanel.io/ce/v2/install.sh -o install.sh; \
echo "6eac061df80f08b75224fcd7fce2f115e201696d8a6122e31abf7259a813b462 install.sh" | \
sha256sum -c && sudo CLOUD=hetzner DB_ENGINE=MYSQL_5.7 bash install.sh
curl -sS https://installer.cloudpanel.io/ce/v2/install.sh -o install.sh; \
echo "6eac061df80f08b75224fcd7fce2f115e201696d8a6122e31abf7259a813b462 install.sh" | \
sha256sum -c && sudo CLOUD=hetzner DB_ENGINE=MARIADB_11.4 bash install.sh
curl -sS https://installer.cloudpanel.io/ce/v2/install.sh -o install.sh; \
echo "6eac061df80f08b75224fcd7fce2f115e201696d8a6122e31abf7259a813b462 install.sh" | \
sha256sum -c && sudo CLOUD=hetzner DB_ENGINE=MARIADB_10.11 bash install.sh
curl -sS https://installer.cloudpanel.io/ce/v2/install.sh -o install.sh; \
echo "6eac061df80f08b75224fcd7fce2f115e201696d8a6122e31abf7259a813b462 install.sh" | \
sha256sum -c && sudo CLOUD=hetzner DB_ENGINE=MARIADB_10.6 bash install.sh
Access CloudPanel
Security
For security reasons, access CloudPanel as fast as possible to create the admin user. There is a small time window where bots can create the user. It's highly recommended to open port 8443 only for your IP via firewall.
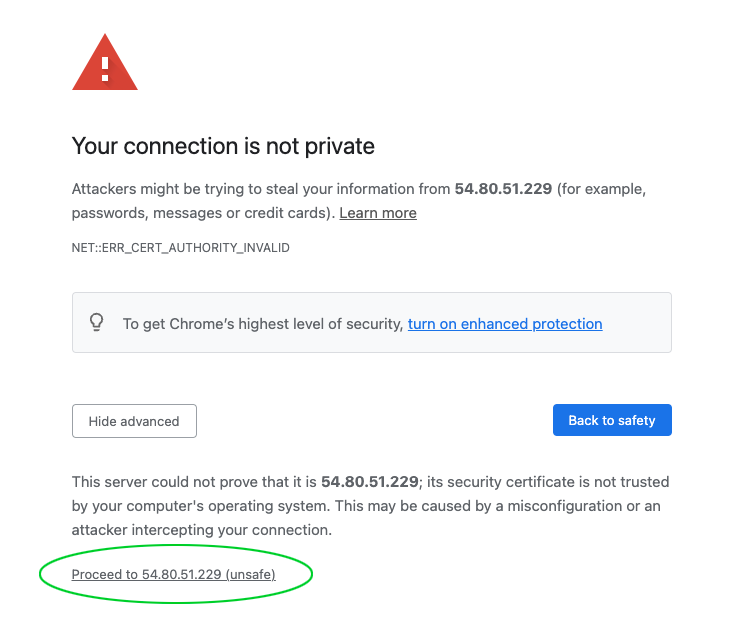
You can now access CloudPanel via Browser: https://serverIpAddress:8443
Ignore the self-signed certificate warning and click on Advanced and Proceed to continue to CloudPanel.