Vultr
CloudPanel v1 is obsolete
CloudPanel v1 is obsolete; check out the CloudPanel v2 Docs.
On this page, we explain step by step how to run CloudPanel on VULTR.
Deploy an Instance
1) Login into your VULTR account.
2) Click on the button Deploy CloudPanel Instance.

Choose Server Type
Choose the Server Type you want to run the Instance on.

Server Location
Choose the Server Location where you want to run your Instance.

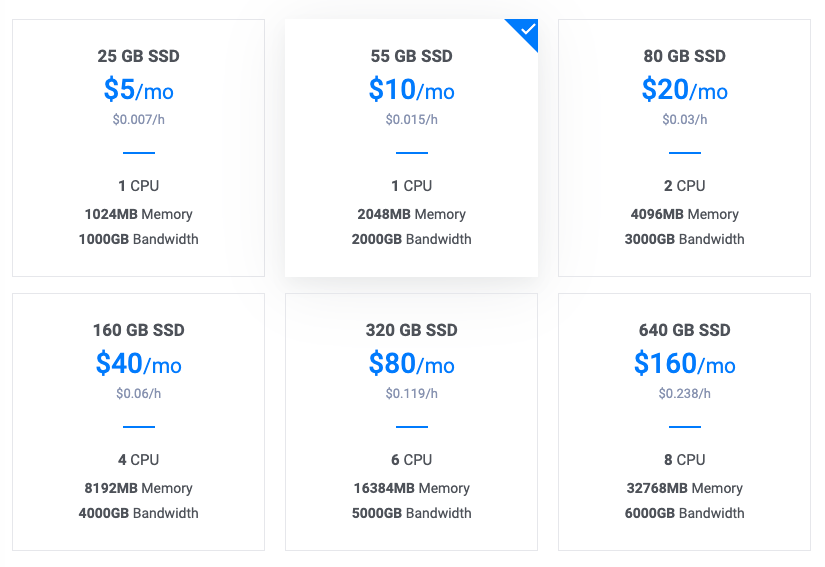
Server Size
Select the Server Size you want to deploy. We recommend at least 1 CPU and 2 GB of Memory.
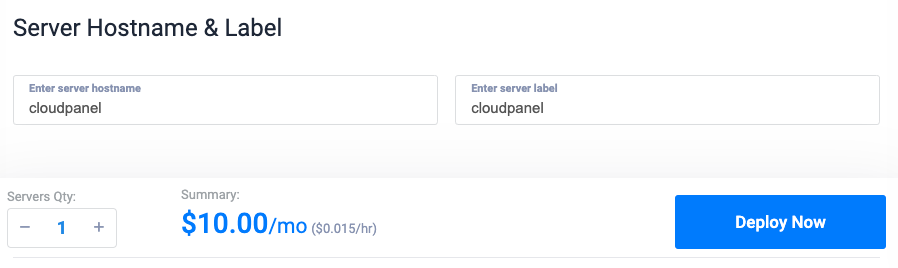
Finalize and Deploy
Enter a Server Hostname & Label like cloudpanel and click on the button Deploy Now.
Creating a Firewall
For higher security, we recommend assigning a Firewall to control the incoming traffic to your Instance.
1) Click in the left navigation on Products and then on the tab Firewall.
2) Click on button Add Firewall Group.
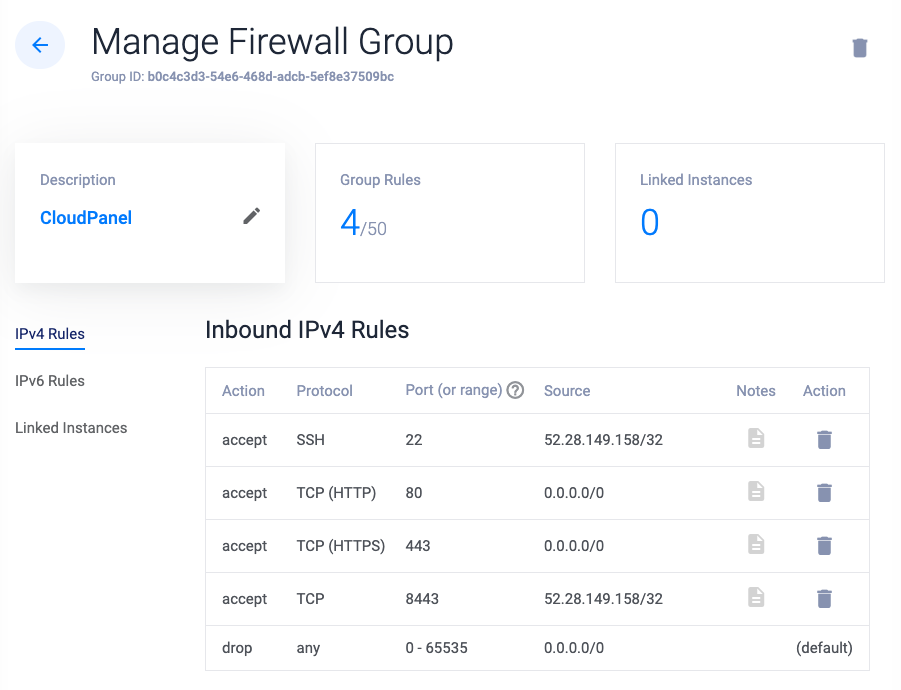
3) Add a Description like CloudPanel and click on the button Add Firewall Group.
4) Open the ports 80 (HTTP) and 443 (HTTPS) for everyone.
5) Click on Linked Instances in the left menu and add your instance.
Security
The port 22 (SSH) and 8443 (CloudPanel) should be restricted to your IPs only.
Access CloudPanel
You can now access the CloudPanel via Browser: https://yourFloatingIpAddress:8443
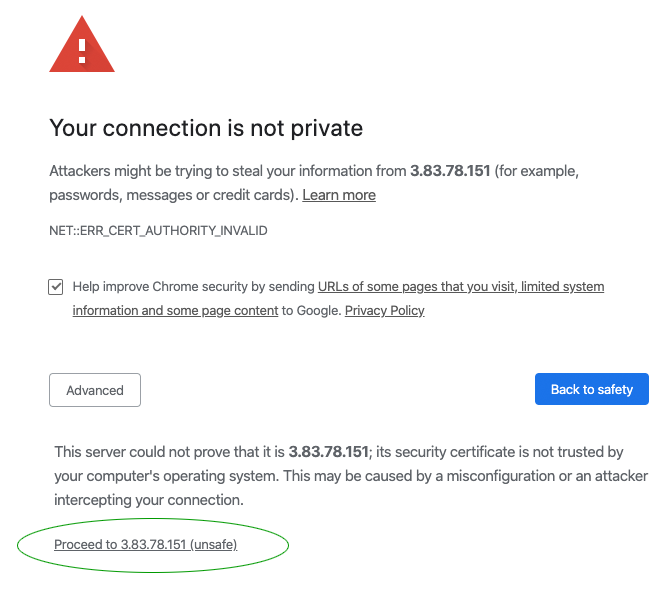
Ignore the self-signed certificate warning and click on Advanced and Proceed to continue to CloudPanel.