Google Cloud
CloudPanel v1 is obsolete
CloudPanel v1 is obsolete; check out the CloudPanel v2 Docs.
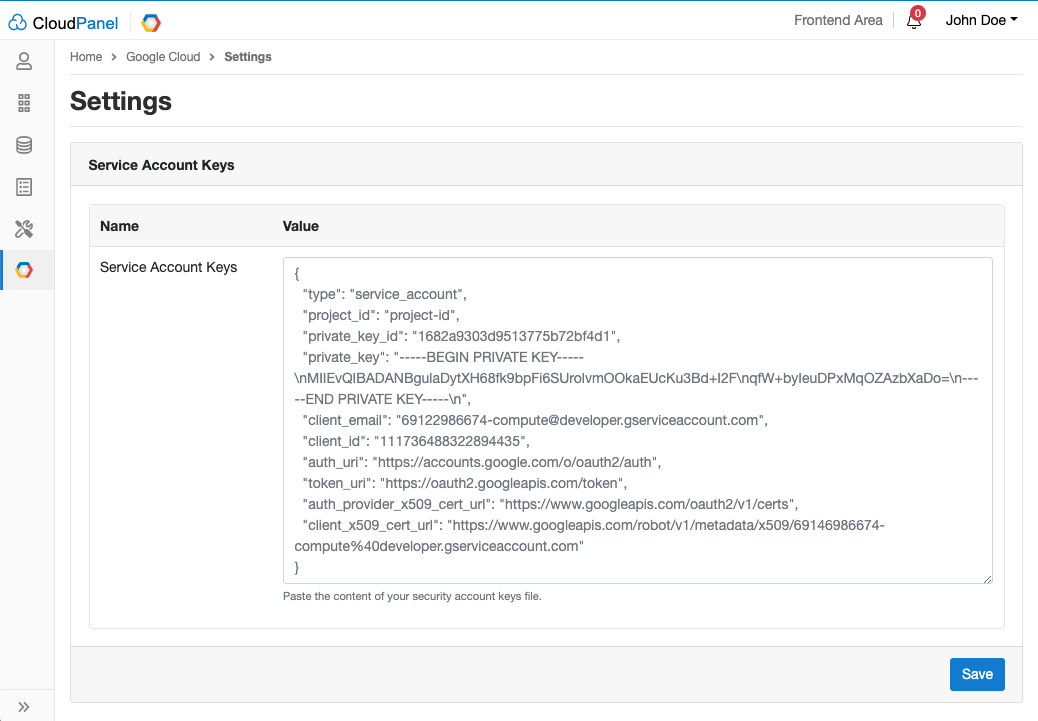
Service Account Keys
To enable all cloud functionalities, you need to enter Service Account Keys, that CloudPanel can communicate with the Google Cloud.
Create Service Keys
1) Login into the Google Cloud Console.
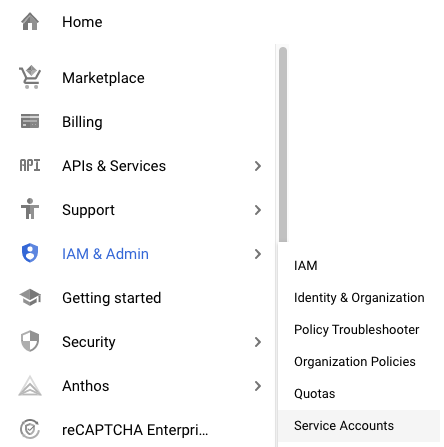
2) Click in the left navigation on IAM & Admin and click on Service Accounts.
3) On the Service Accounts overview, go to Actions and click on Create Key.
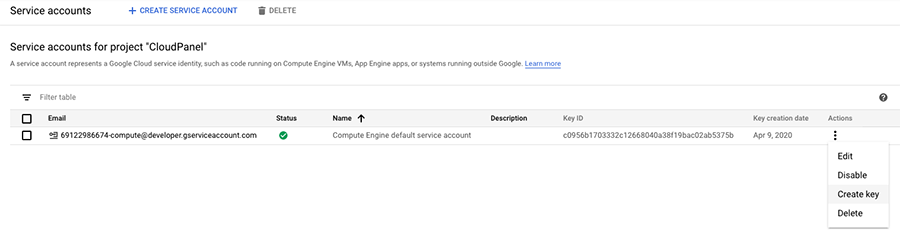
4) Select JSON as Key type and click on Create to download the Service Keys file.
Enter Service Keys
To enter the Security Account Keys in CloudPanel do the following:
1) Login into your CloudPanel as Admin and go to the Admin Adrea.
2) Click on the left menu on the Google Cloud settings.
Open the Service Account Keys File and paste the content into the Service Account Keys field and click on the button Save.
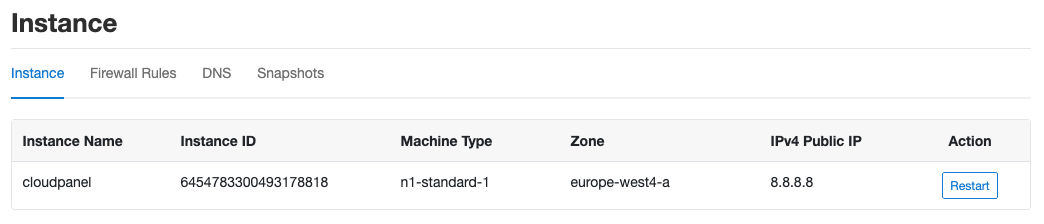
Instance
In the Instance area, you find information about your Instance like Instance Name, Instance ID, Machine Type, Zone and, IPv4 Public IP.
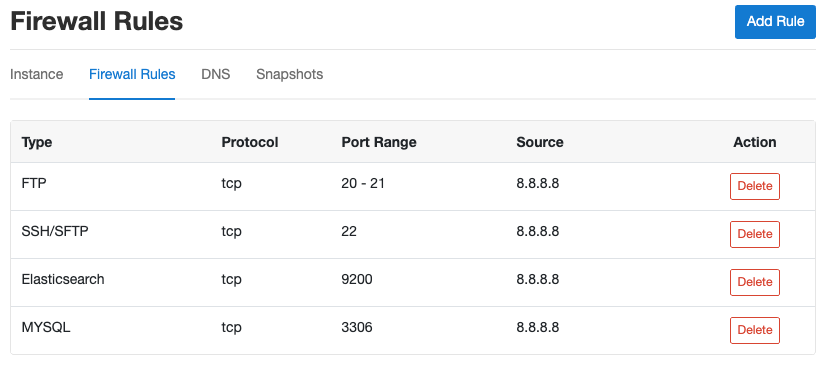
Firewall Rules
In this Firewall Rules area, you see all assigned Firewall Rules of your Instance.
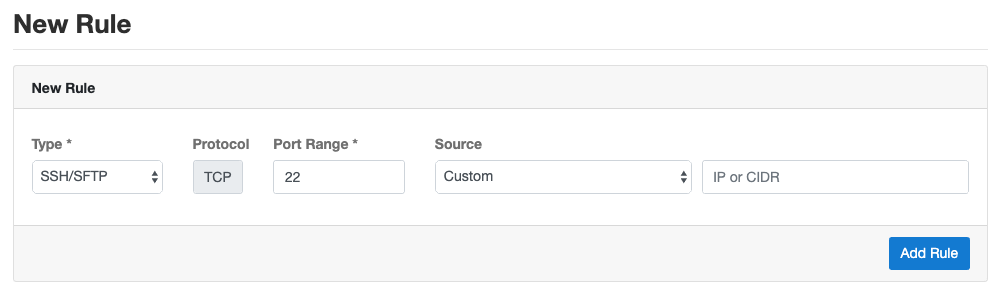
Adding a Rule
To Add a Rule click on the Firewall Rules and then on the button Add Rule top right.
Select a Rule Type from a list and select the Source, which should have access to the service.
Deleting a Rule
On the Firewall Rules overview site you can delete a rule by clicking on the button Delete.
DNS
Google Cloud DNS is a scalable, reliable, and managed authoritative Domain Name System (DNS) service running on the same infrastructure as Google. It has low latency, high availability and is a cost-effective way to make your applications and services available to your users.
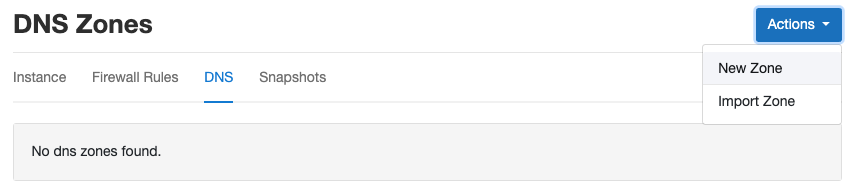
New DNS Zone
To add a new DNS Zone, click on the button top right on New Zone.
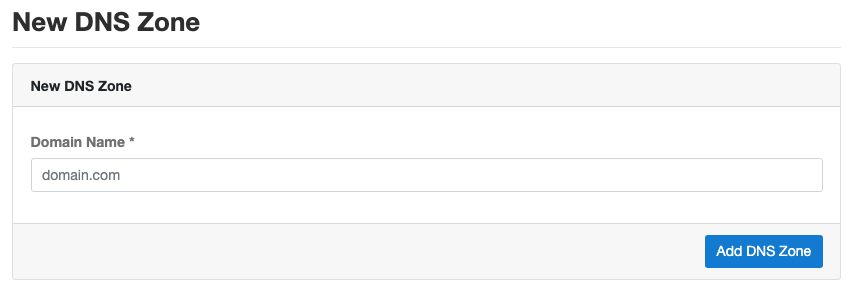
Enter the Domain Name and click on Add DNS Zone to create a new DNS Zone.
Import DNS Zone
If you already have an existing DNS Zone in your Google Cloud Account, and if you want to manage the DNS records via CloudPanel, you can import the DNS Zone.
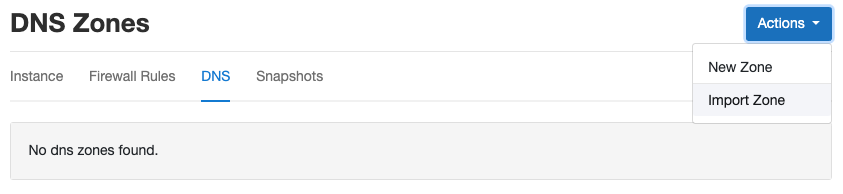
To import an existing DNS Zone, click on the button top right on Import Zone.
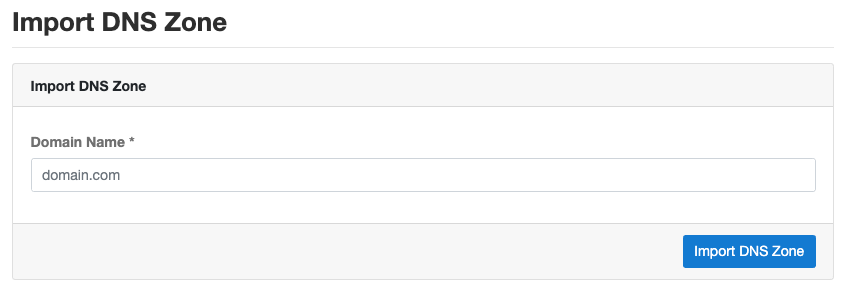
Enter the Domain Name and click on Import DNS Zone to import the DNS Zone.
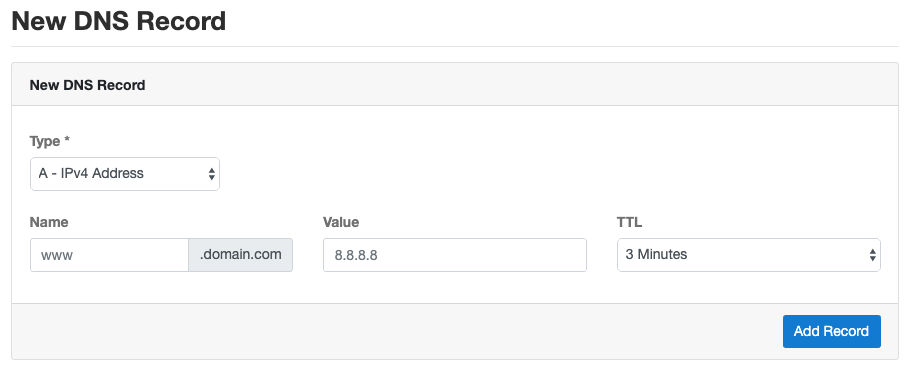
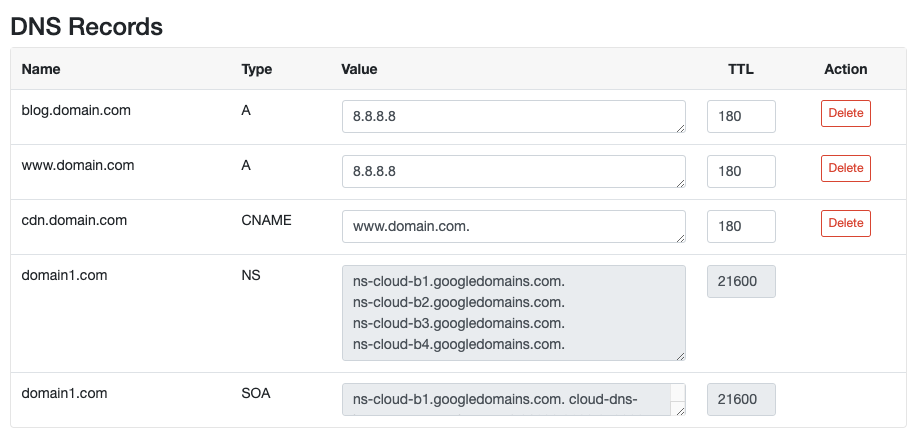
Adding a DNS Record
To add a DNS Record, click on your DNS Zone and click on the button Add Record top right.
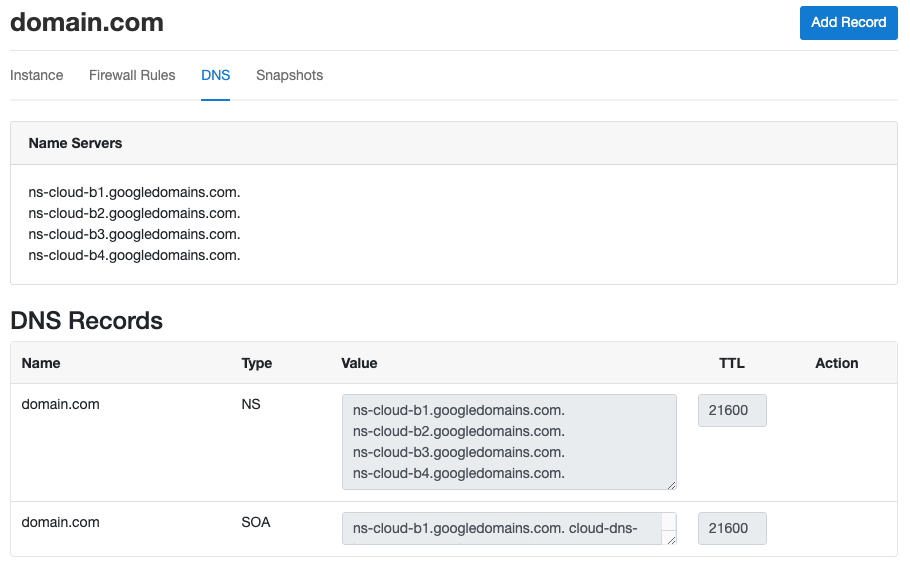
Select the Type, enter the Name, Value, and select the TTL before clicking on the button Add Record.
Deleting a DNS Record
To delete a DNS Record, click on your DNS Zone and click on the button Delete.
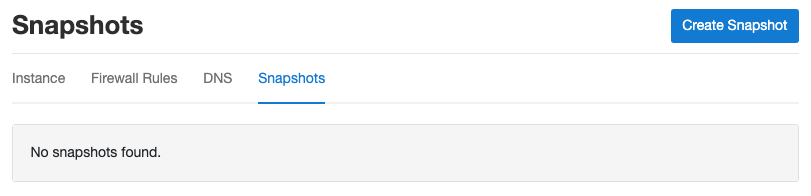
Snapshots
A Snapshot is the state of a system at a particular point in time. We use Snapshots to periodically back up data of your Instance on a regular interval. Google takes and stores the Snapshots; CloudPanel triggers them on a scheduled interval.
Automatic Backups
To enable Automatic Backups do the following:
1) Login into your CloudPanel as Admin and go to the Admin Adrea.
2) Click on the left menu on the Google Cloud settings.
Set Automatic Backups to Yes and select the Backup Frequency and Backup Retention Period.
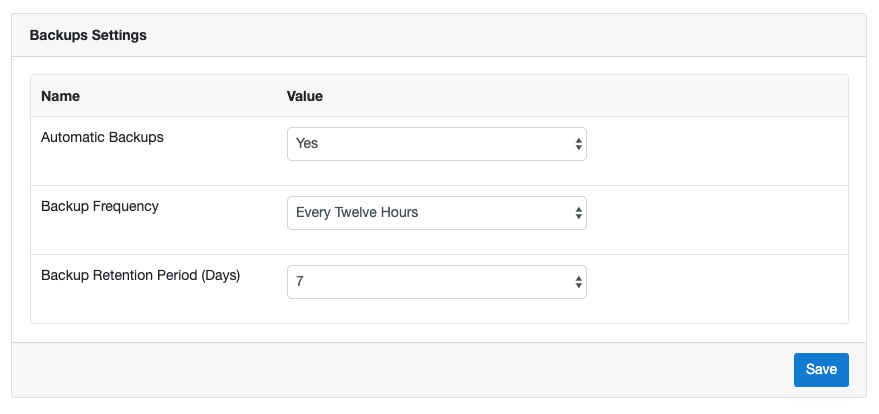
With the following configuration, two Snapshots will be created per day and held for seven days, 14 Snapshots in total.
Manual Backups
Often you want to do a Backup before releasing a new version or feature of your application.
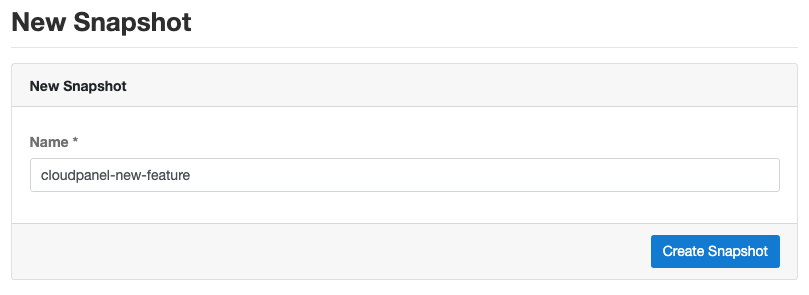
To create a Backup, click on the tab Snapshots and then on the button Create Snapshot top right.
Enter the Name of your Snapshot and click on the button Create Snapshot.
The Google Cloud will immediately start creating a Snapshot of your Instance.