Google Cloud
CloudPanel v1 is obsolete
CloudPanel v1 is obsolete; check out the CloudPanel v2 Docs.
On this page, we explain step by step how to run CloudPanel on the Google Cloud.
Launching a VM Instance
1) Login into the Google Cloud Console.
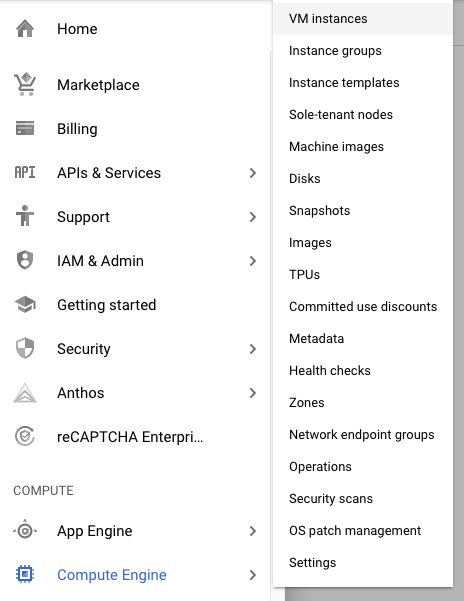
2) Click in the left navigation on Compute Engine --> VM instances and click on the button Create.
Name and Region
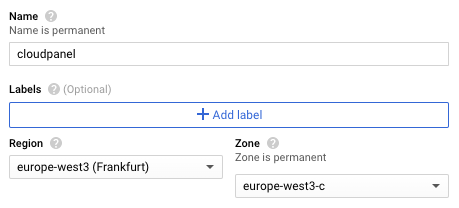
Enter the Name of the instance and select a Region to deploy.
Machine Configuration
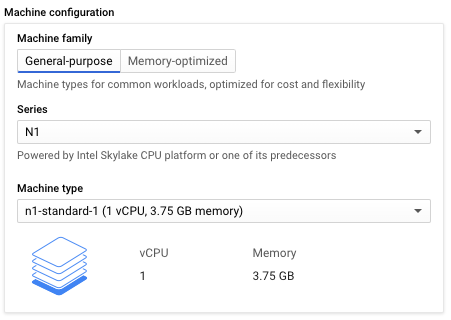
Select the Machine Family, Series and Machine Type.
Boot Disk
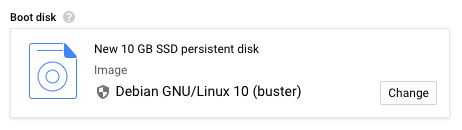
Use Debian 10 (Buster) as Boot disk image.
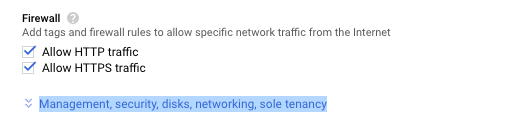
Firewall
1) Allow HTTP and HTTPS Traffic.

2) Click on Management, security, disks, networking, sole tenancy to continue with the next step.
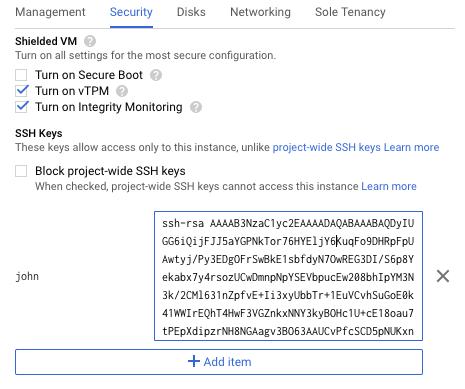
3) Click on the tab Security and enter your Public SSH Key.
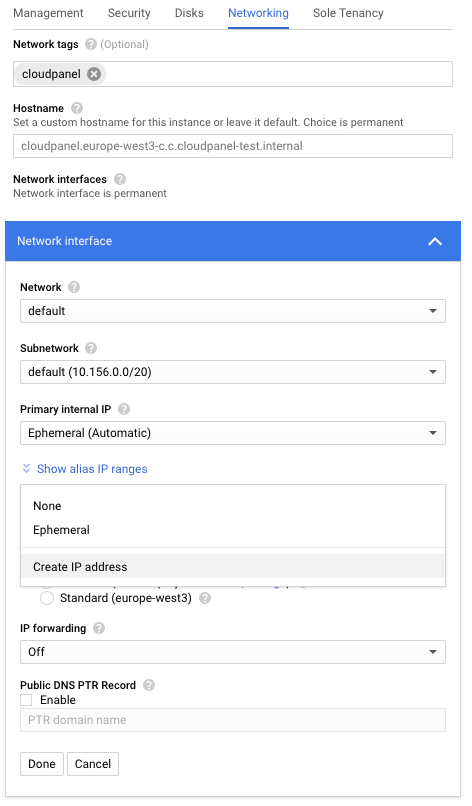
Networking
In the Networking section we will add a Network Tag and create a Static IP Address for our instance.
1) In the field Network tags add the tag: cloudpanel.
The Network Tag is needed for assigning Firewall Rules to our instance.
2) In the Network interface settings click on External IP --> Create IP address to create a static IP address.
Create
Click on the button Create to launch the VM Instance.
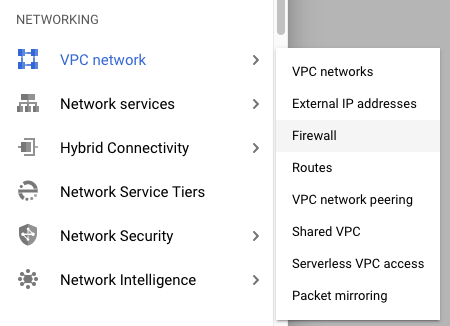
Firewall Rules
For accessing the CloudPanel later, we need to create a Firewall Rule.
1) Click in the left navigation on Networking -> VPC Network -> Firewall.
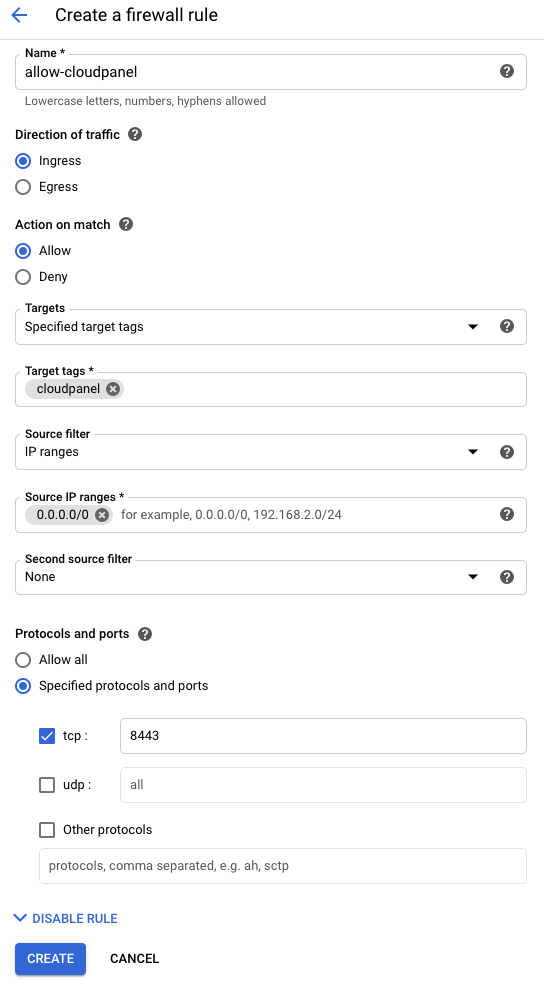
2) Click on the button CREATE FIREWALL RULE and create the following rule:
Name: allow-cloudpanel
Targets: Specified target tags
Target tags: cloudpanel
Source filter: IP ranges
Source IP ranges: 0.0.0.0/0 or your IP if you have a fixed IP
Protocols and ports: tcp: 8443
CloudPanel Installation
SSH Login
For installing CloudPanel, we first need to login with SSH.
The username can be found at the end of your Public SSH Key.
In the following example, the username would be john.
warning
Do not use the username cloudpanel as it's a reserved one.
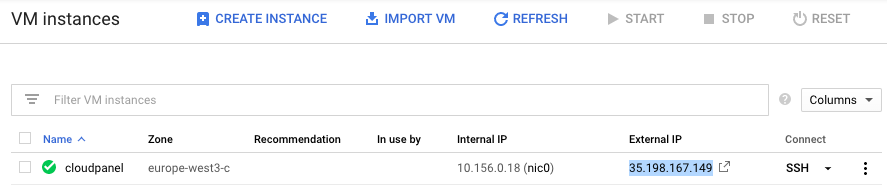
The static IP Address can be found on the VM instances overview, it's called External IP.
Installer
Before running the installer, we need to switch the user to root to install the required packages.
To start the CloudPanel installation, execute the following command:
Access CloudPanel
You can now access the CloudPanel via Browser: https://yourStaticIpAddress:8443
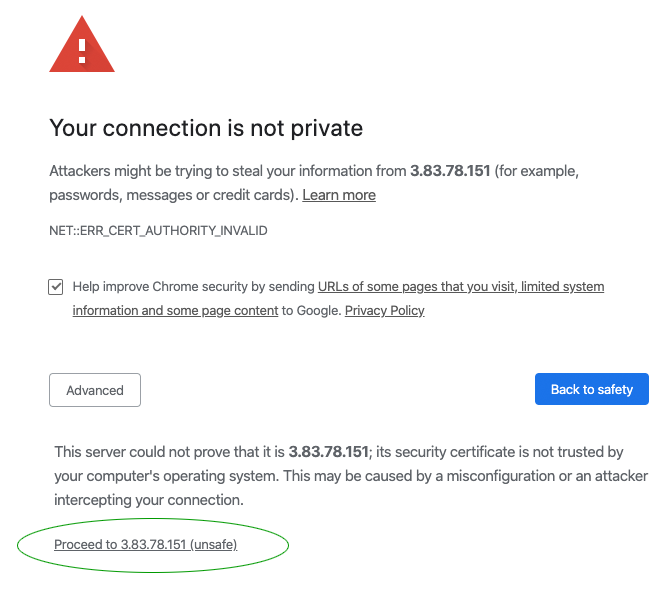
Ignore the self-signed certificate warning and click on Advanced and Proceed to continue to CloudPanel.