Domains
CloudPanel v1 is obsolete
CloudPanel v1 is obsolete; check out the CloudPanel v2 Docs.
Basics
Adding a Domain
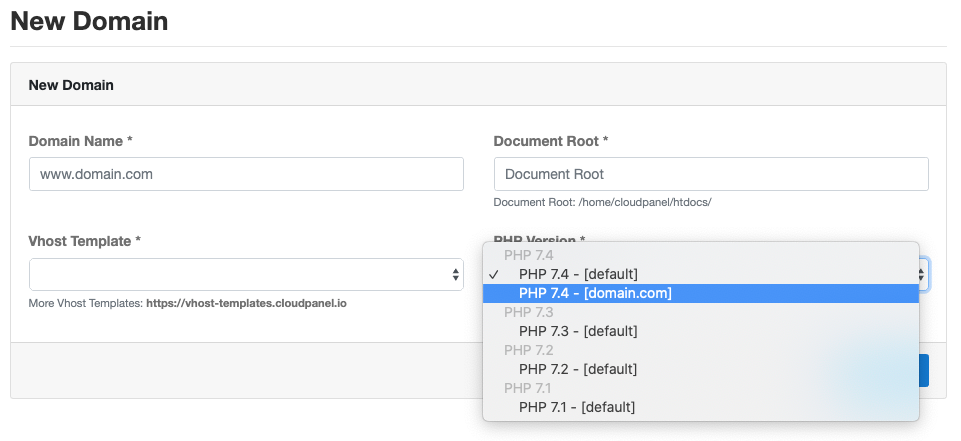
A new domain can be added by clicking on button Add Domain top right.
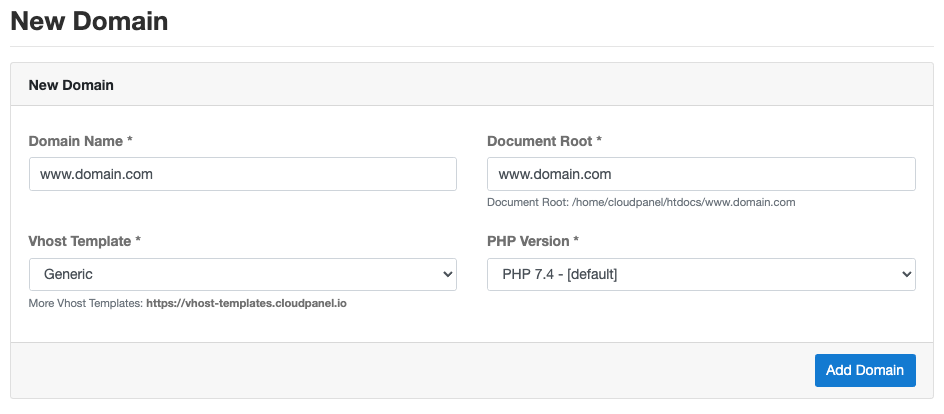
In this form you enter the Domain Name, the Document Root and you select a Vhost Template
and PHP Version for your application.
PHP-FPM Pools
Make sure to read about PHP-FPM Pools before adding a domain.
When you click on the button Add Domain, the following things will be created by CloudPanel:
- The Document Root: /home/cloudpanel/htdocs/www.domain.com
- Vhost file for NGINX: /etc/nginx/sites-enabled/domain.com.conf
- NGINX Access and Error Log file:
- /home/cloudpanel/logs/domain.com/nginx/access.log
- /home/cloudpanel/logs/domain.com/nginx/error.log
- PHP-FPM Error Log file:
- /home/cloudpanel/logs/domain.com/php/error.log
- A self-signed TLS certificate
Redirection
When you enter your Domain Name with www a redirection from non-www to www will be created automatically and vice versa. Furthermore http requests are redirected to https.
Deleting a Domain
When you delete a domain, only the vhost and the NGINX and PHP log directories will be deleted,
NOT the Document Root Directory.
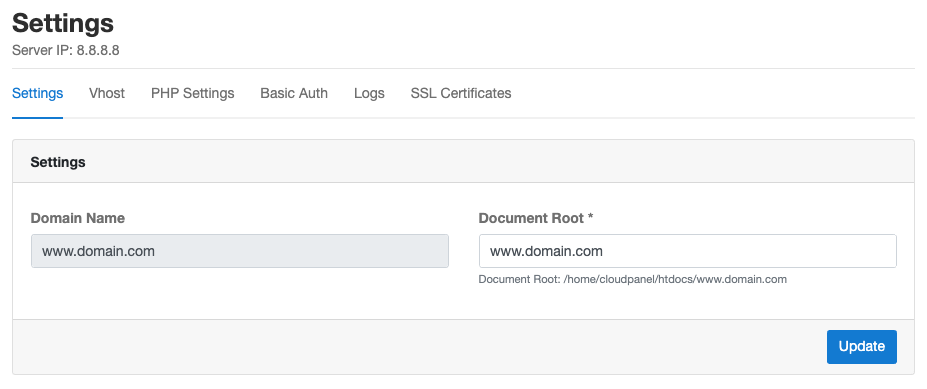
Settings
In the settings of your domain, you can change the Document Root for your domain.
Vhost
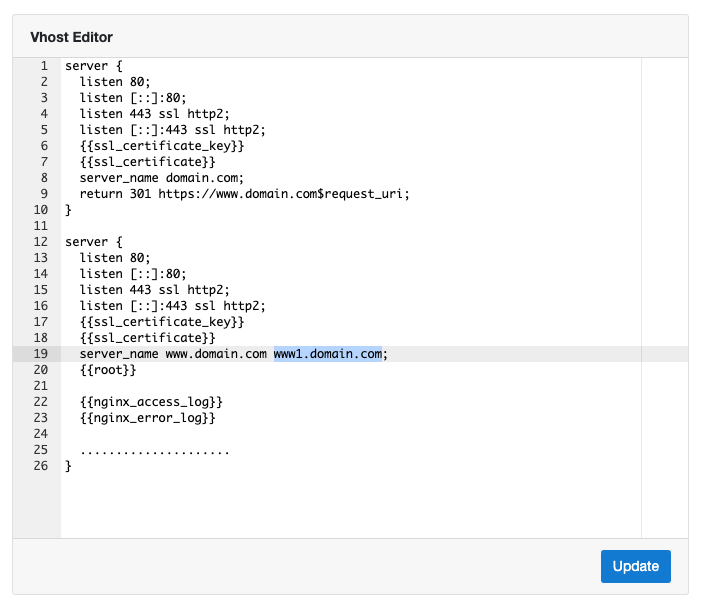
In the Vhost Editor you can make changes on the NGINX vhost.
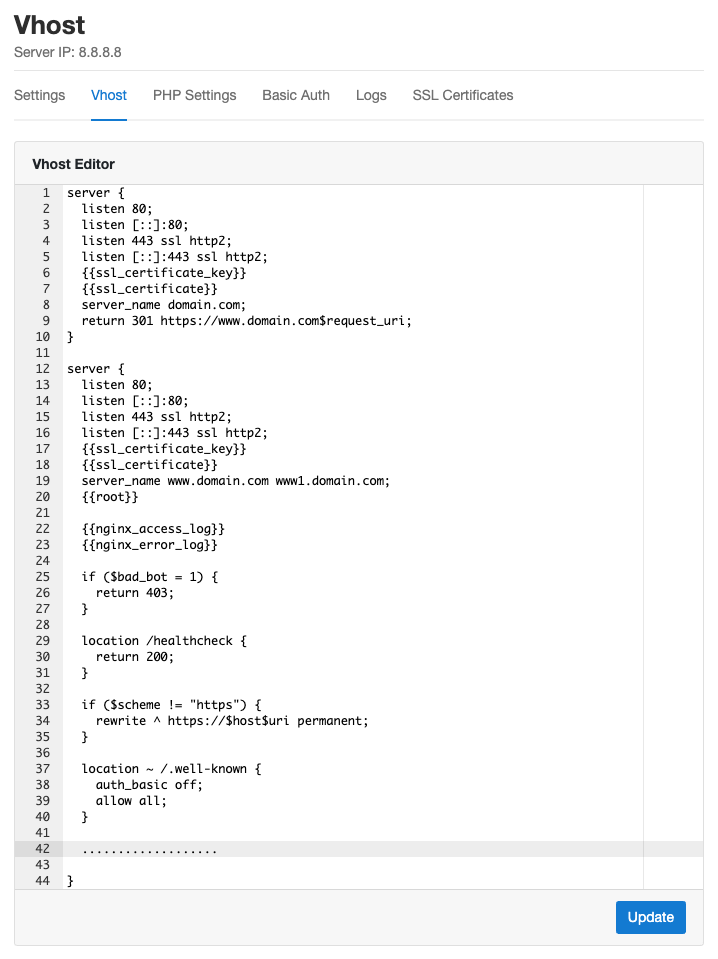
In our example, we have entered the domain www.domain.com.
In lines 1-10, you see a redirection from http(s)://domain.com to https://www.domain.com.
The next server block is handling all http and https requests for the domain www.domain.com.
In the lines 33-35, you see the redirection rule to redirect all http requests to https.
Domain Aliases
Aliases of your domain can be added in the vhost by extending the server_name value.
SSL/TLS Certificate
When you issue a SSL/TLS certificate make sure to include the domain aliases as well.
PHP-FPM Pools
PHP-FPM (FastCGI Process Manager) is a FastCGI handler for PHP applications.
The web server NGINX is forwarding all PHP requests to PHP-FPM via FastCGI.
Each PHP Version is organized in PHP-FPM Pools, the configured Pools can be found in the following directory:
Each PHP Version has a default PHP-FPM Pool:
The content of the default PHP-FPM Pool looks like the following one:
In the configuration above you see that the user and group is clp.
Creating a PHP-FPM Pool
Basically all PHP Applications are reading and writing files to the file system.
If you use the default PHP-FPM Pool, all created files will be created as user and group clp.
To avoid permission problems you can create additional PHP-FPM Pools.
To create a PHP-FPM Pool do the following:
1) Create a SSH User like john-ssh.
2) Go to the PHP-FPM directory and make a copy of the default PHP-FPM Pool.
3) Open the file domain.conf and change the following settings:
- The name of the PHP-FPM Pool in the square brackets
- listen: Increase the listener (port) number by one (e.g. port differs in example regarding your php version)
- user: Your created SSH User (e.g. john-ssh)
In our example the new PHP-FPM Pool should look like the following one:
4) Restart PHP-FPM with the following command to apply the changes:
If you have created a PHP-FPM Pool for PHP 7.3, restart PHP-FPM for PHP 7.3 with the following command:
Selecting a PHP-FPM Pool
When you add a new Domain, you can now select the new created PHP-FPM Pool in the PHP-Version drop down.
The PHP-FPM Pool for existing domains can be changed in the PHP Settings of your domain.
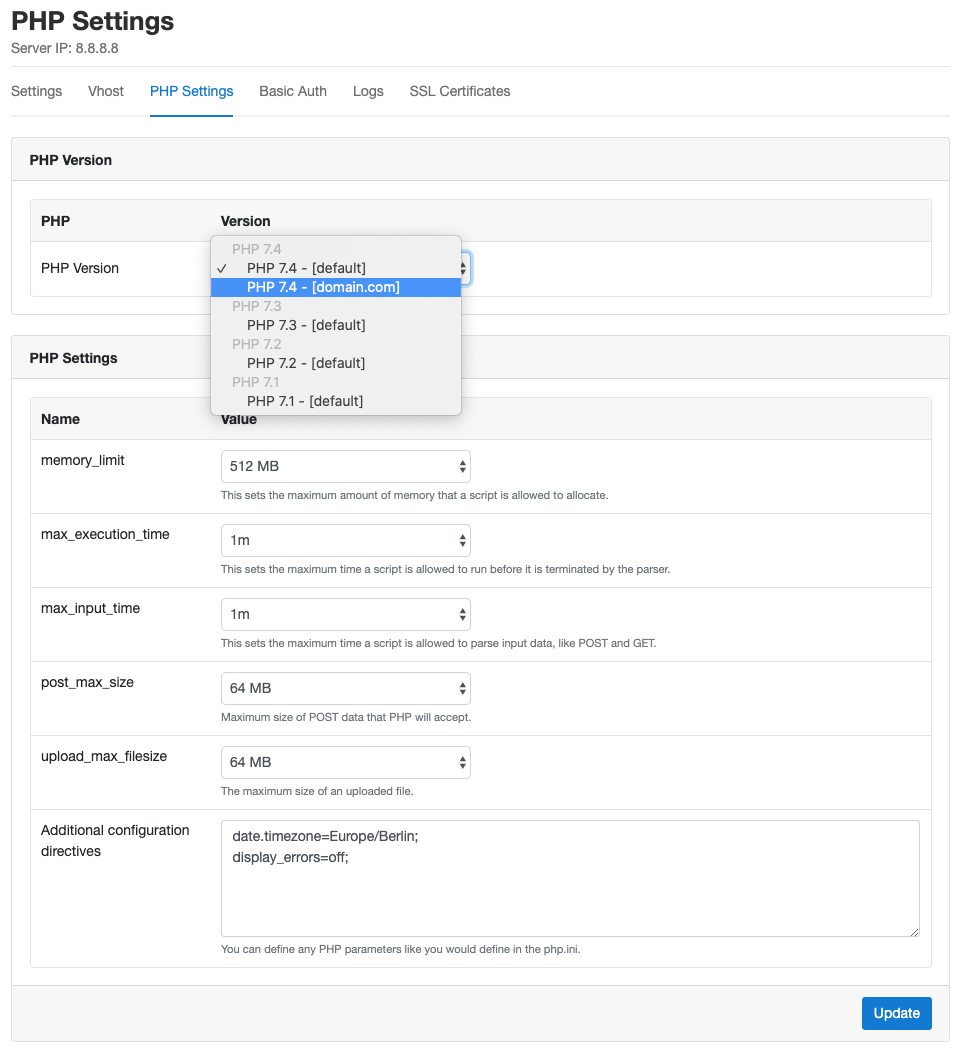
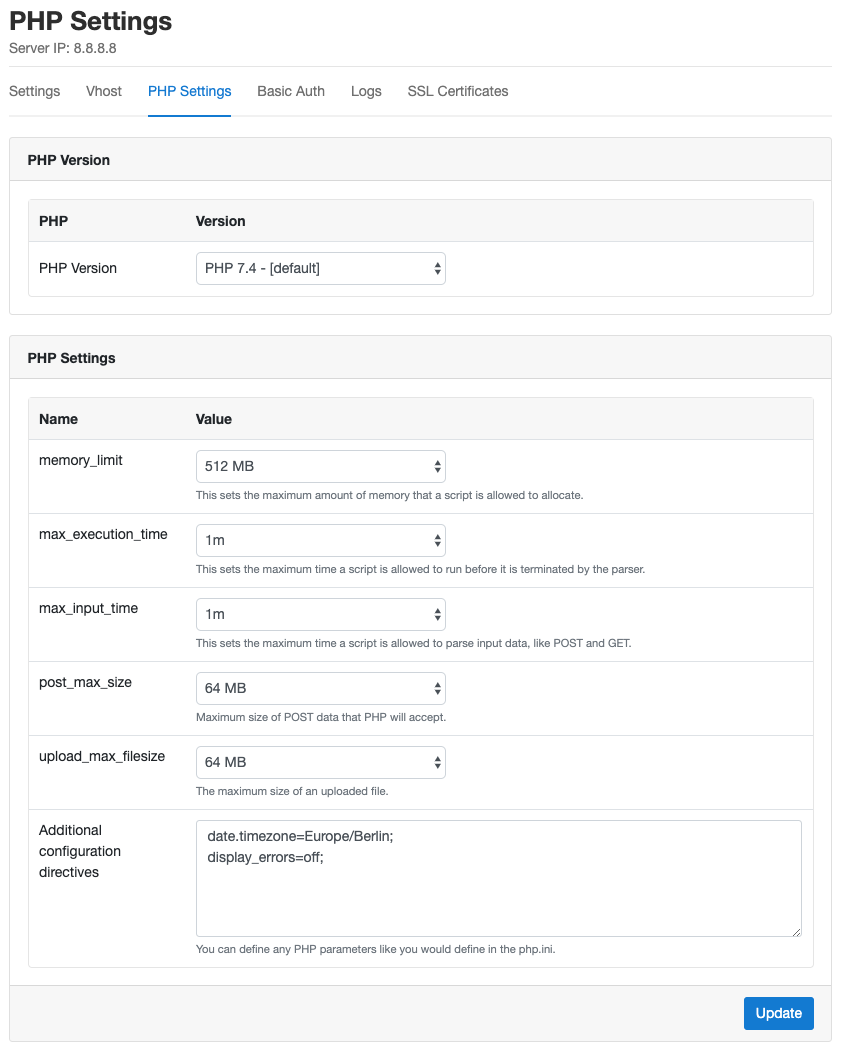
PHP Settings
In the PHP Settings of your domain, you can change the PHP Version and make other settings like:
- memory_limit
- max_execution_time
- max_input_time
- post_max_size
- upload_max_filesize
The most common settings can be modified to your needs but if you need to change other parameter values you can overwrite them in the Additional configuration directives.
Tips
Keep the memory_limit and max_execution values as low as possible to keep the server stable.
In the PHP Error Log, you find all error messages of processes that run out of memory or exceeded
the max_execution_time.
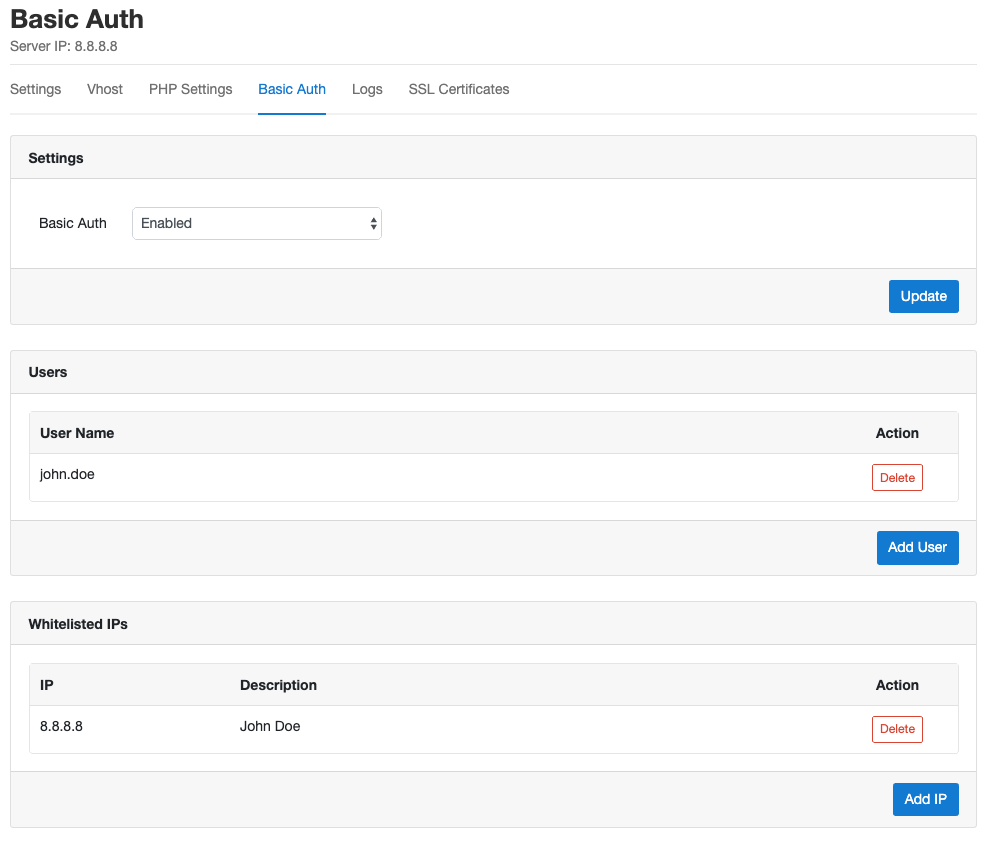
Basic Auth
In the Basic Auth settings of your domain, you can enable and disable Basic Auth.
Users can be added, and IPs to bypass Basic Auth can be whitelisted.
A Basic Auth is useful to prevent traffic to your site when you don't want to have it public, e.g. during the development of a project or for test/staging environments.
Logs
In the Log Viewer you can check the NGINX Access and Error Logs and the PHP Error Log.
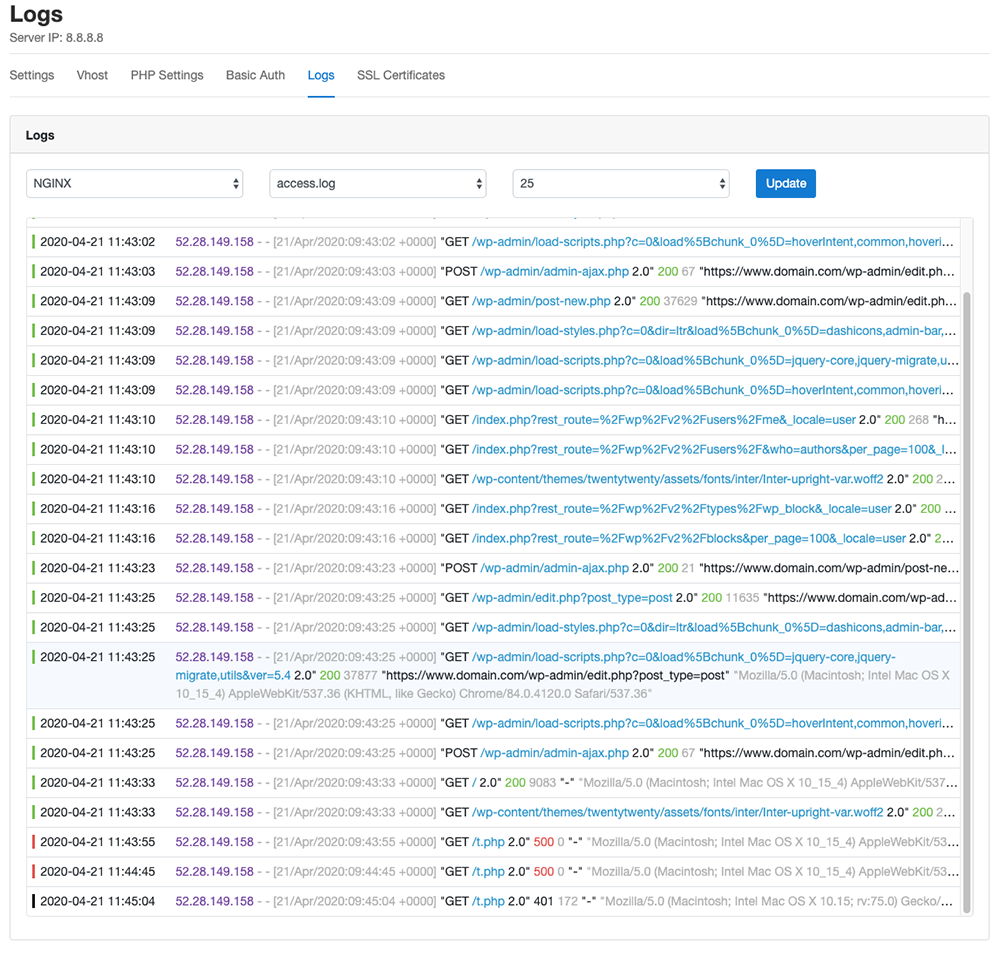
Developers who prefer the command line can find the logs in the following directories:
NGINX
- Access Log: /home/cloudpanel/logs/domain.com/nginx/access.log
- Error Logs: /home/cloudpanel/logs/domain.com/nginx/error.log
PHP
- Error Log: /home/cloudpanel/logs/domain.com/php/error.log
To see the last 100 lines of your PHP Error Log, you can use the tail command with the follow option.
SSL Certificates
When you add a domain, a self-signed certificate will be automatically created.
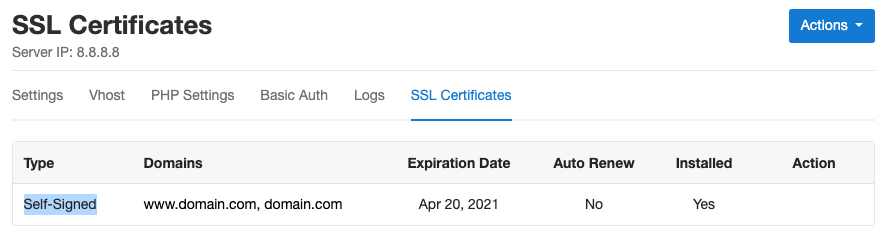
On this page, you can import an existing SSL/TLS certificate or issue a free auto-renewing Let's Encrypt certificate.
Let's Encrypt
To issue a free Let's Encrypt certificate click on button Actions and select New Let's Encrypt Certificate.
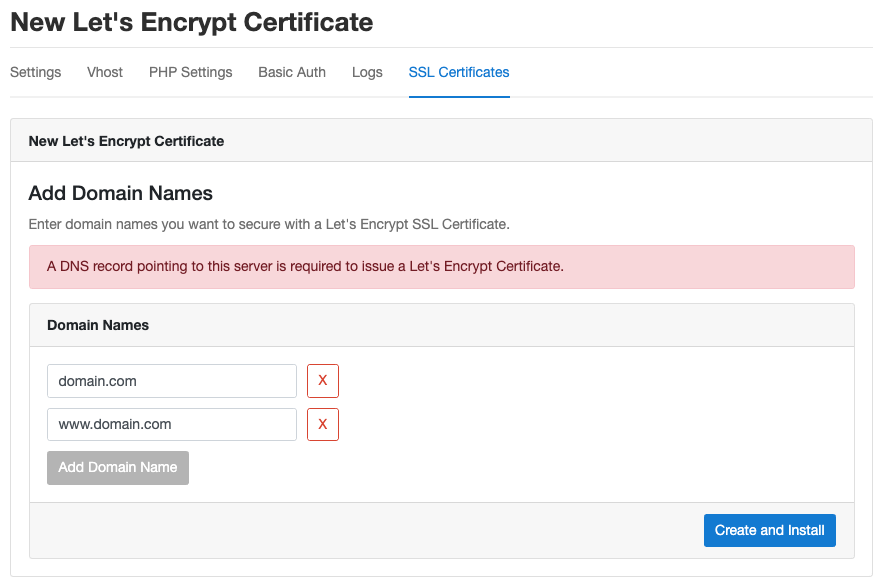
The Domain Names are pre filled. Add extra Domain Names if you have added Domain Aliases.
To issue the certificate, click on the button Create and Install and wait some seconds until it's installed.
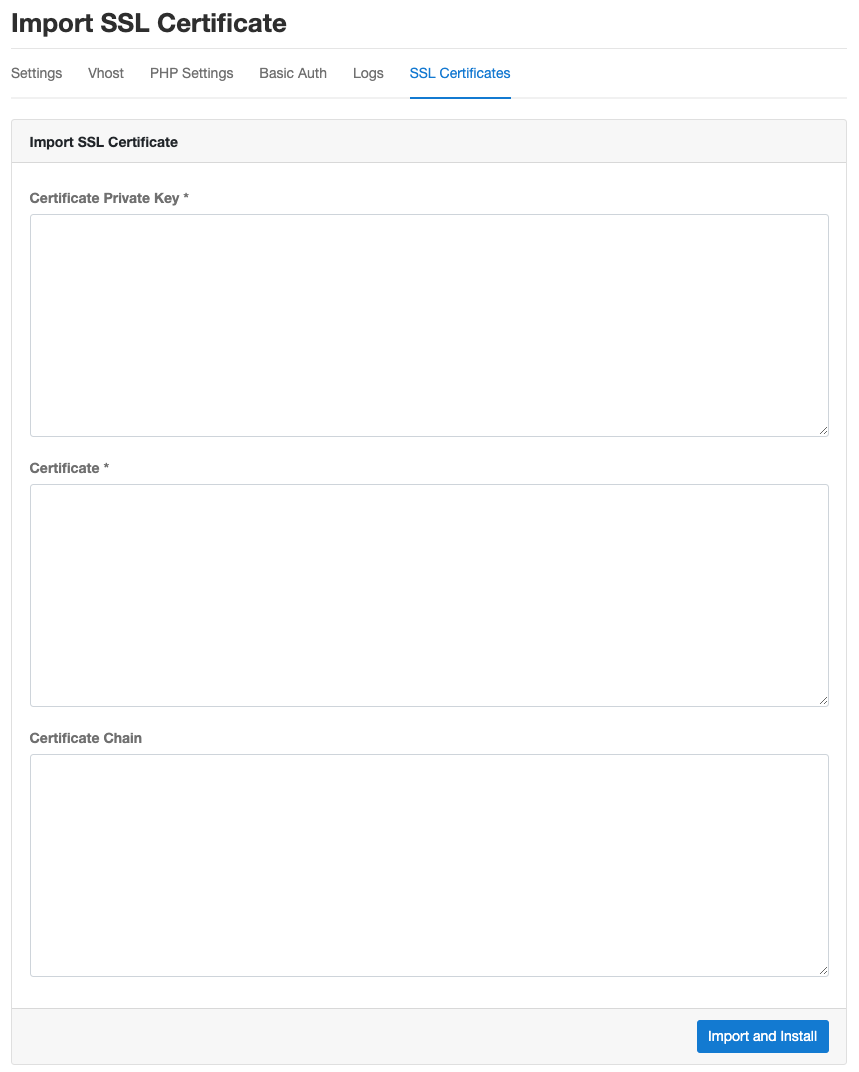
Import SSL Certificate
The majority of the websites are fine with the free Let's Encrypt Certificates but in some cases e.g.
for an Extended Validation Certificate you need to buy and import
the certificate.
To import a certificate, click on button Actions and select Import SSL Certificate.
Enter the Certificate Private Key, Certificate and the Certificate Chain and click on the button
Import and Install.