OroCRM 4.2
CloudPanel v1 is obsolete
CloudPanel v1 is obsolete; check out the CloudPanel v2 Docs.
On this page, we explain step by step how to setup OroCRM 4.2 with CloudPanel.
Installation
In the following example we will setup OroCRM under the domain www.domain.com.
Preparation
Before we can start with the installation, we need to create an SSH User, a Database, and a Domain.
When you Add the Domain, make sure to select the OroCRM 4.2 Vhost Template and the right PHP Version.

Document Root
Make sure to point the Document Root to the public directory.
Installation
To install OroCRM do the following steps:
- Login via SSH to the server e.g. with john-ssh and go to the htdocs directory:
cd /home/cloudpanel/htdocs/
- Delete the project directory which has been created by CloudPanel:
rm -rf /home/cloudpanel/htdocs/www.domain.com
- Clone latest 4.2.x version from github:
git clone -b 4.2.1 https://github.com/oroinc/crm-application.git www.domain.com
Latest Version
You find the latest version on github: https://github.com/oroinc/crm-application/releases
- Install via composer:
cd /home/cloudpanel/htdocs/www.domain.com/
php7.4 /usr/local/bin/composer install --prefer-dist --no-dev
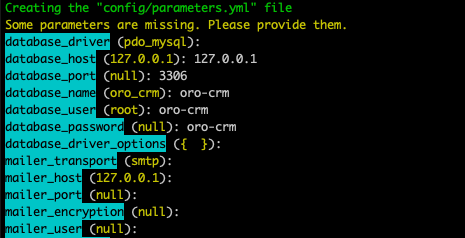
- Enter the database credentials and other parameters:
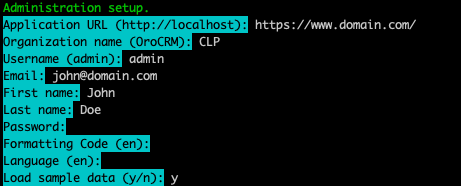
- Run oro:install command:
php7.4 /home/cloudpanel/htdocs/www.domain.com/bin/console oro:install --env=prod --timeout=8000
Enter the Application URL, Organization name and the admin Username and Password:
- Reset permissions.
cd /home/cloudpanel/htdocs/
clpctl system:permissions:reset www.domain.com 775
- Done! You can now open your domain in your browser and start working with OroCRM.