Nodejs
CloudPanel v1 is obsolete
CloudPanel v1 is obsolete; check out the CloudPanel v2 Docs.
On this page, we explain step by step how to setup a Nodejs App with CloudPanel.
Installation
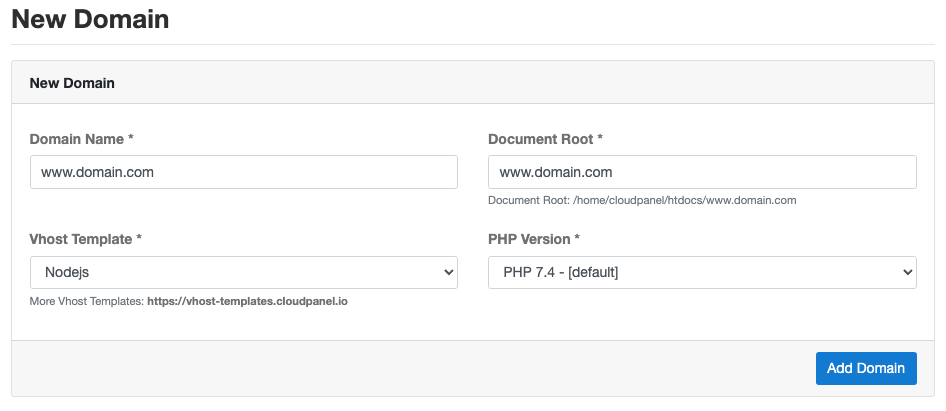
In the following example, we will setup a Nodejs under the domain www.domain.com.
Preparation
Before we can start with the installation, we need to create an SSH User and a Domain.
When you Add the Domain, make sure to select the Nodejs Vhost Template.
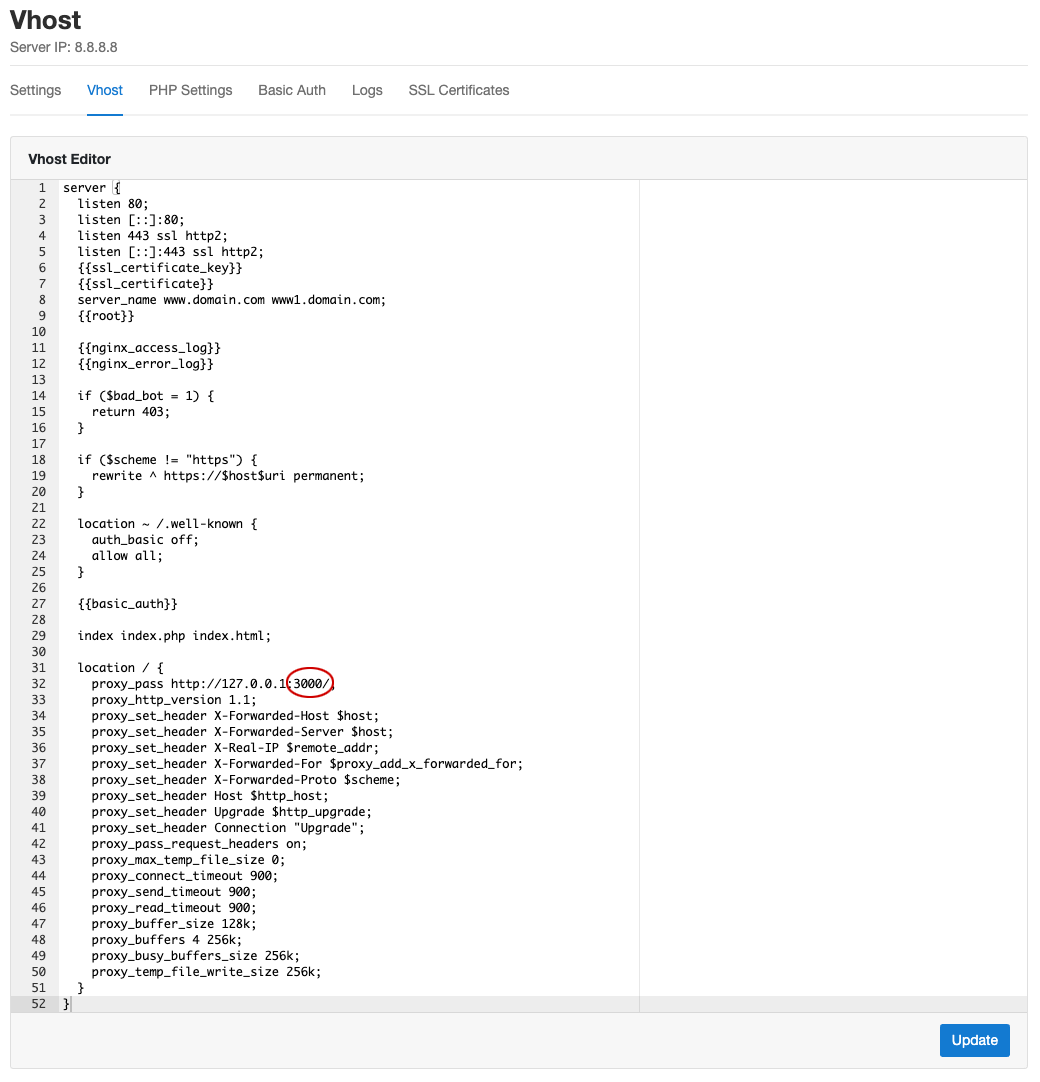
Application Port
By default, all requests are forwarded to port 3000 via reverse proxy.
If your Nodejs App is running under another port, you can change it easily in the Vhost Editor of your domain.
Production Deployment
For running a NodeJs App in production it's recommended to use a process control system like supervisor, which restarts the node processes automatically in case of a failure.
Setup Supervisor
- Install the supervisor package:
- Create a supervisor configuration file:
- Open the configuration file and put the following content:
Attention
Make sure that the user is correct to avoid permission problems.
- Update the configuration and start the node processes:
With the command supervisorctl you get information about the status, pid, and uptime:
Troubleshooting
You may want to see what happens in the background; you can do that by tailing the log file: