Push an Existing Project to GitHub

GitHub is a code hosting platform used for collaboration and version control. It is used to host open-source software development projects. GitHub is also a managed hosting solution for backups of repositories.
This tutorial shows how to take an existing project and push it, so it exists on GitHub.
Prerequisites
You’ll require the following prerequisites to initialize the repo and push it to GitHub:
- A GitHub Account
-
gitinstalled on the local machine
Steps to Push an Existing Project to GitHub
1. Create a GitHub Repo
First, sign in to GitHub and create a new empty repo.
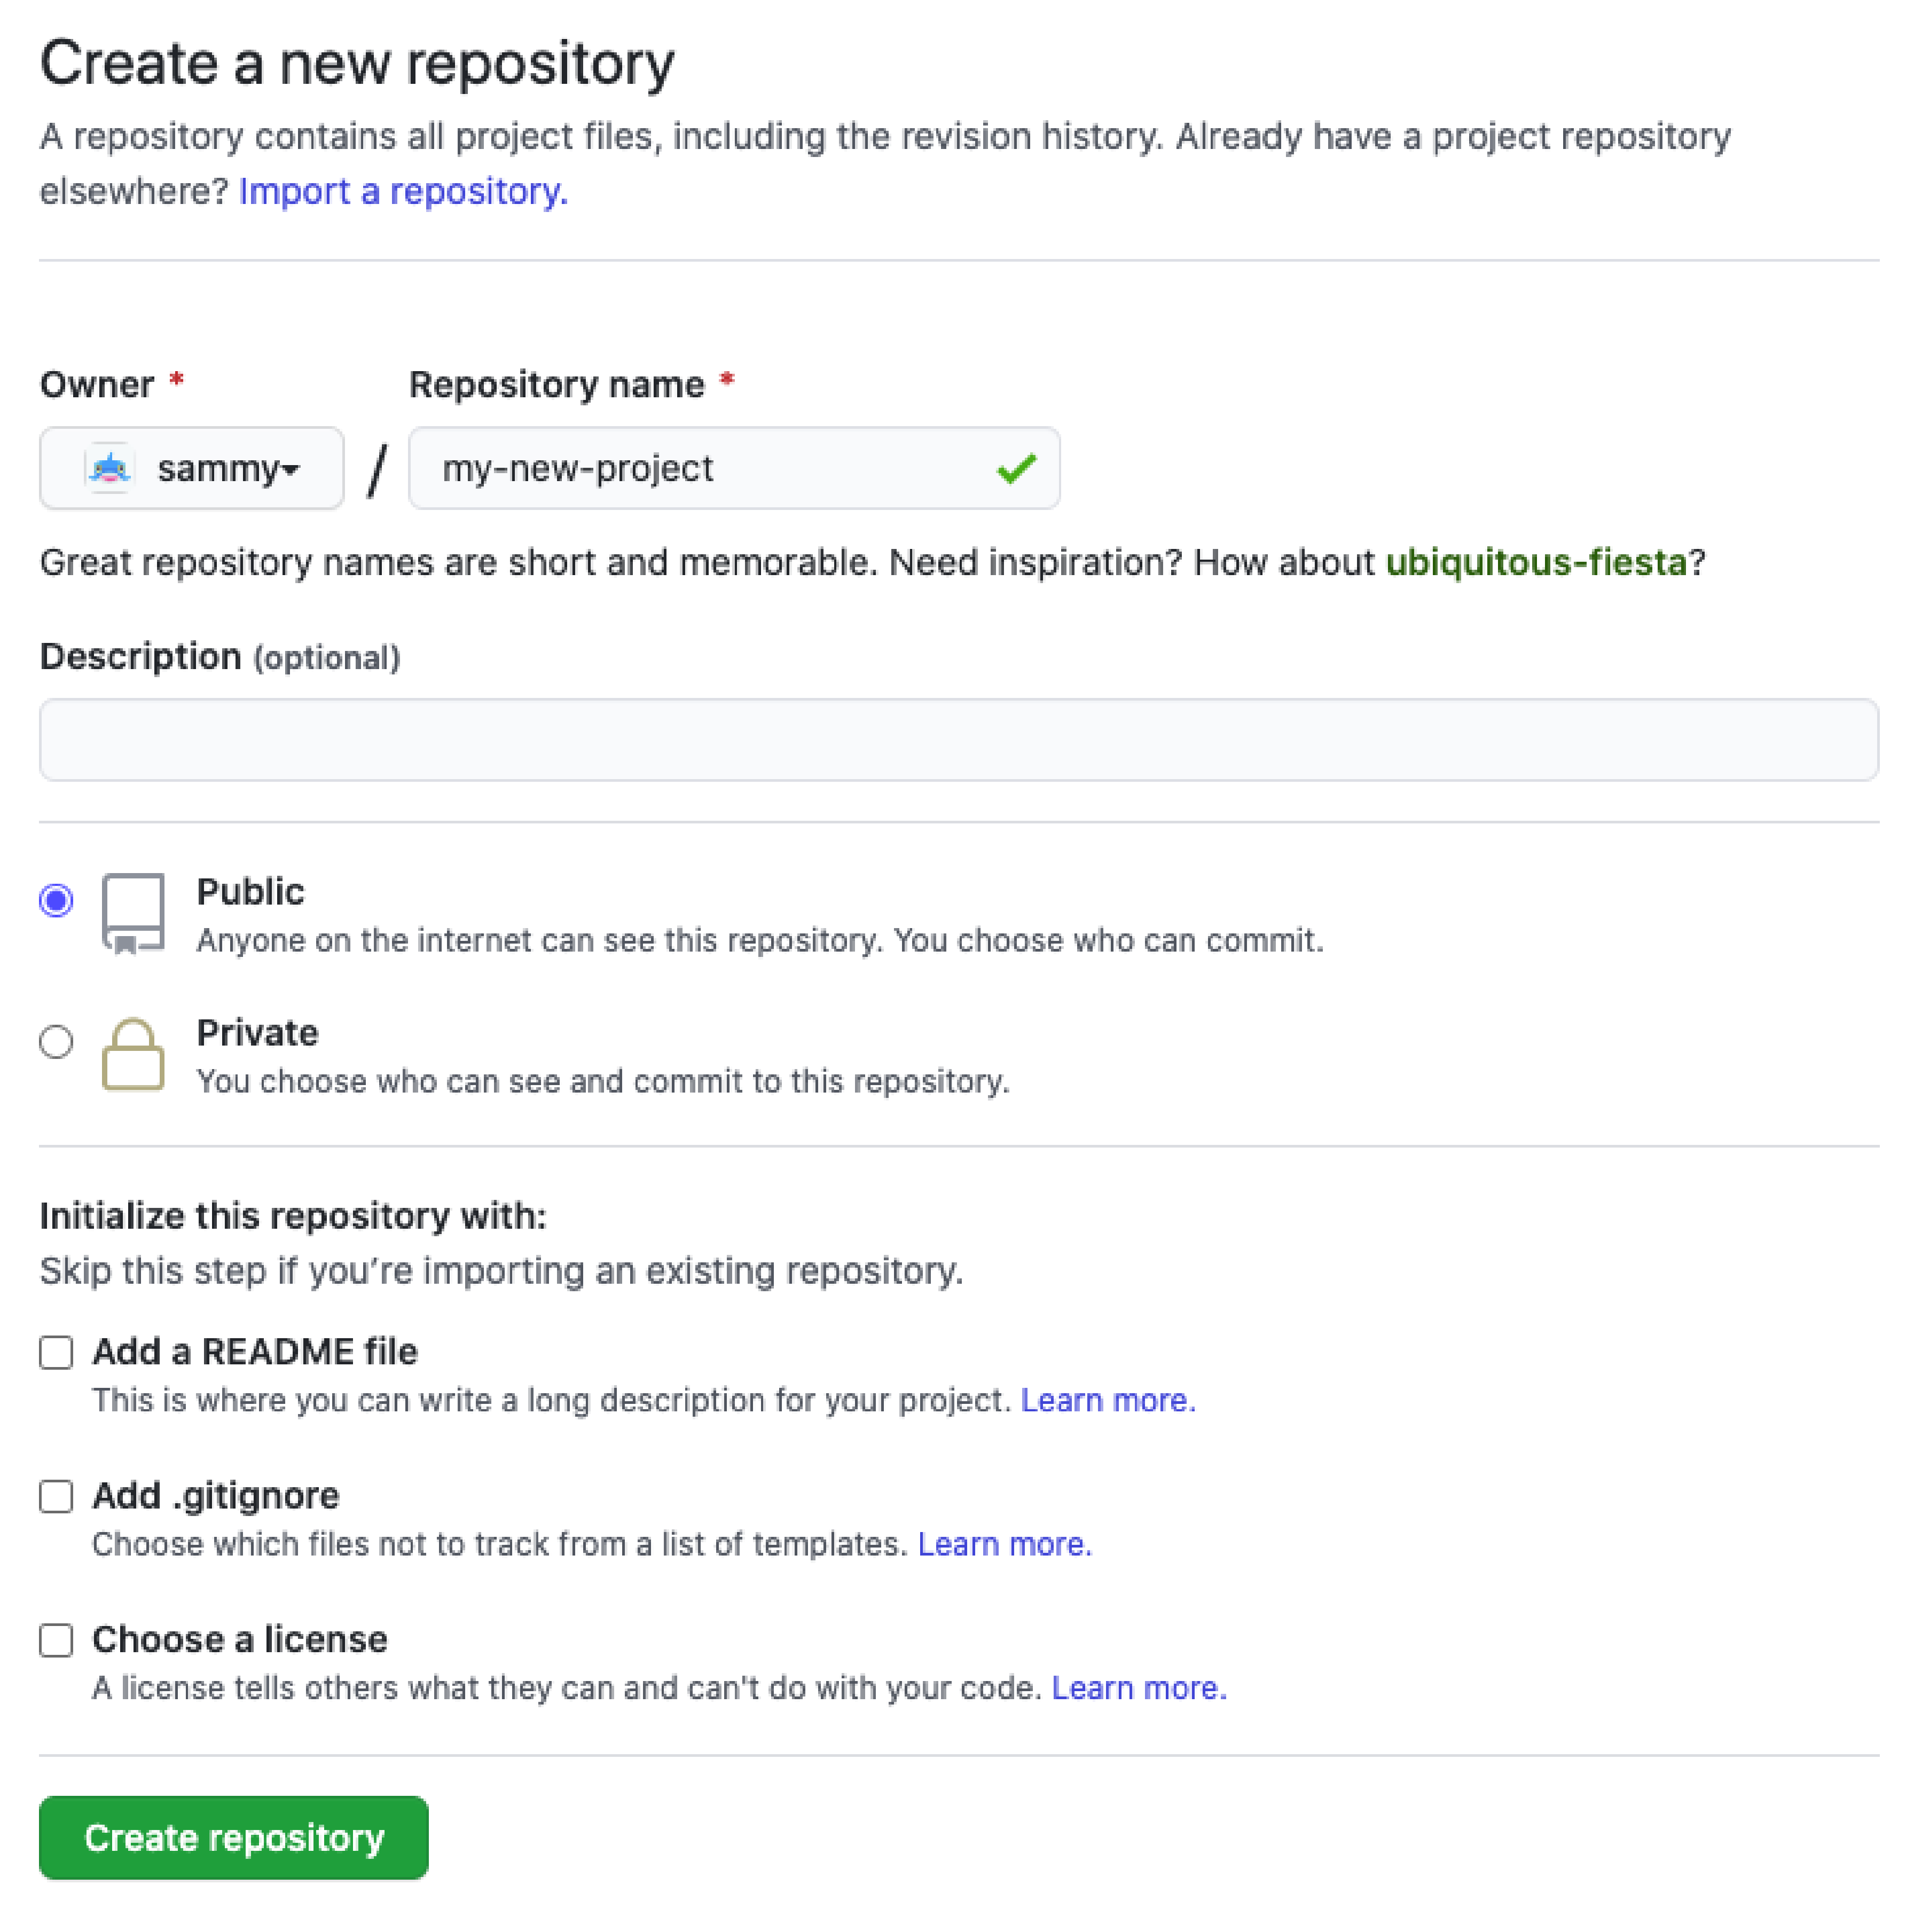
You can either initialize a README or not. It is not essential as we will override everything in the remote repository.
We assume your GitHub username is sammy, and the repo created is called my-new-project. You have to replace these placeholders with your username and repo name.
2. Initialize Git in the project folder.
From the terminal, run the commands after going to the folder you would like to add.
Initialize the Git Repo.
Ensure that you are in the project's root directory that we push to GitHub. Run the following command:
git init
You can skip the above command if you already have an initialized Git repository.
The command creates a hidden .git directory in the project folder. The git software recognizes and uses it to store all the metadata and version history for the project.
Add the files to Git index
git add -A
The git add command tells git which files to include in a commit, and the -A argument means “include all”.
Commit the Added Files
git commit -m 'Added my project'
The git commit command creates a new commit with all added files.
The -m (or --message) sets the message included with the commit. It is used for future reference to understand the commit.
In this specific case, the message is: 'Added my project'
Add a new remote origin
git remote add origin git@github.com:sammy/my-new-project.git
Note: In the above command, you will add your username and repo name.
In git, remote refers to a remote version of the same repository.
The “origin” is the default name git gives to a remote server.
The git remote add origin instructs git to add the URL of the default remote server for the repo.
Push to GitHub
git push -u -f origin main
The command above shows -u (or --set-upstream) flag sets the remote origin as the upstream reference.
You can later perform git push and git pull commands without having to specify an origin.
The -f (or --force) flag stands for force. It will automatically overwrite everything in the remote directory.
We are using it to overwrite the default README that GitHub automatically initialized. If you did not include the default README when creating the project, the -f flag is not necessary.
All the commands together
git init
git add -A
git commit -m 'Added my project'
git remote add origin git@github.com:sammy/my-new-project.git
git push -u -f origin main
Now can track all your code changes remotely in GitHub.
Summary
Adding your project to GitHub lets you build code, track changes, and collaborate with team members. It helps to find solutions to issues that may arise during site development.
You can find source codes in multiple languages and use the command-line interface, Git, to keep track of the changes. We covered how to push an existing project to Github.
For more helpful guides on Github, check out the CloudPanel Tutorials.