
How to install Elasticsearch 7 on Debian 10
Elasticsearch is an open-source distributed full-text search and analytics engine. It supports RESTful operations and allows you to store, search, and analyze big volumes of data in real-time. Elasticsearch is one of the most popular search engine powering applications that have complex search requirements, such as big e-commerce stores and analytic applications.
In this tutorial, you will learn how to install Elasticsearch 7 on Debian 10.
Installing Java
The easiest way for installing Java is to use the version packaged with Debian. By default, Debian 10 includes OpenJDK version 11, which is an open-source variant of the JRE and JDK.
Java 11 is the current LTS version of Java.
- Update the package sources:
sudo apt update
- Install OpenJDK, which is the default JRE from Debian:
sudo apt -y install default-jre
- Check and verify the Java version:
java -version
The output will look like the following one:
openjdk version "11.0.9.1" 2020-11-04
OpenJDK Runtime Environment (build 11.0.9.1+1-post-Debian-1deb10u2)
OpenJDK 64-Bit Server VM (build 11.0.9.1+1-post-Debian-1deb10u2, mixed mode, sharing)
Installing Elasticsearch
Elasticsearch is not available in the standard Debian 10 repositories. We have to install it from the Elasticsearch APT repository.
- Import and install the repository's public key using the following wget command:
wget -qO - https://artifacts.elastic.co/GPG-KEY-elasticsearch | sudo apt-key add -
- You may need to install the
apt-transport-httpspackage on Debian before proceeding:
sudo apt -y install apt-transport-https
- Downloading and saving the repository to
/etc/apt/sources.list.d/elastic-7.x.list:
echo "deb https://artifacts.elastic.co/packages/7.x/apt stable main" | sudo tee /etc/apt/sources.list.d/elastic-7.x.list
- We update the package sources and install Elasticsearch:
sudo apt update && sudo apt -y install elasticsearch
- Start and enable the Elasticsearch service:
sudo systemctl enable elasticsearch.service --now
- To verify and check if Elasticsearch is running, we can execute the following command:
curl -XGET '127.0.0.1:9200'
In the output, you see information about the cluster and version:
{
  "name" : "cloudpanel",
  "cluster_name" : "elasticsearch",
  "cluster_uuid" : "ltOXEDcxSZK54QhoQedLmQ",
  "version" : {
    "number" : "7.10.1",
    "build_flavor" : "default",
    "build_type" : "deb",
    "build_hash" : "1c34507e66d7db1211f66f3513706fdf548736aa",
    "build_date" : "2020-12-05T01:00:33.671820Z",
    "build_snapshot" : false,
    "lucene_version" : "8.7.0",
    "minimum_wire_compatibility_version" : "6.8.0",
    "minimum_index_compatibility_version" : "6.0.0-beta1"
  },
  "tagline" : "You Know, for Search"
}
If you see this information, then Elasticsearch is running.
Configuring Elasticsearch
Heap Space
In the default configuration of Elasticsearch are 1GB defined as the initial and total heap space which is recommended to increase. If Elasticsearch is running on a dedicated instance then give it >= 50% of the available memory.
To change the heap space for Elasticsearch do the following:
- Open the jvm options file
/etc/elasticsearch/jvm.options:
sudo nano /etc/elasticsearch/jvm.options
- Modify the values of -Xms and -Xmx:
# Xms represents the initial size of total heap space
# Xmx represents the maximum size of total heap space
-Xms1g
-Xmx1g
- Restart the Elasticsearch service to apply the changes:
sudo systemctl restart elasticsearch
Remote Access
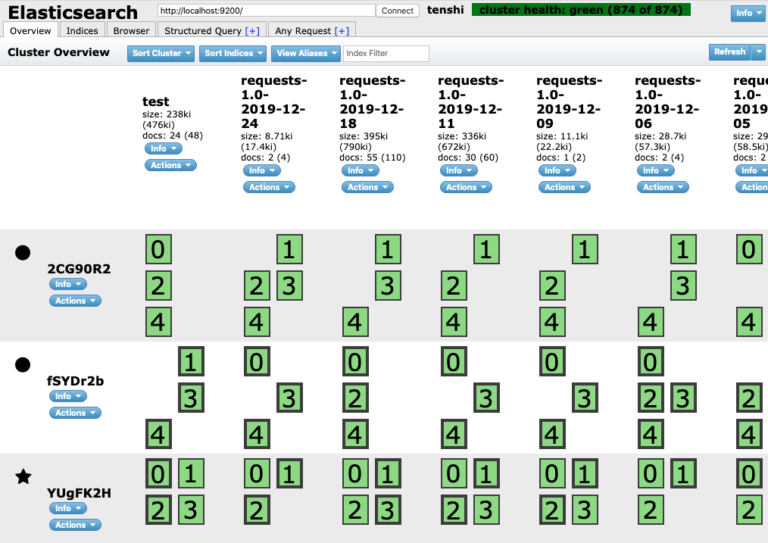
For developers, it's important to get an overview of the cluster, indexes, and the documents stored in Elasticsearch.
The Chrome Extension Elasticsearch Head is very useful for that.
In order to connect with Elasticsearch Head, we first need to configure Elasticsearch to allow remote connections.
- Open the Elasticsearch configuration file:
sudo nano /etc/elasticsearch/elasticsearch.yml
Add the following lines at the end of the file:
network.host: 127.0.0.1
http.host: 0.0.0.0
http.port: 9200
- Restart the Elasticsearch service to apply the changes:
sudo systemctl restart elasticsearch
-
Open the Elasticsearch port 9200 in your firewall for your IP you want to connect from. For using the Elasticsearch Head extension in the Google Chrome Browser, you need to whitelist the IP from your computer.
-
You can now use the public ip address to connect to your Elasticsearch Cluster.